The heart of any home is the kitchen, so it is important to try and get it the way you want it. Some people may have a large kitchen with plenty of space and ventilation, but in many cases in the heart of the city it can be a more modest space which needs a little more thought and careful planning to make it work successfully.
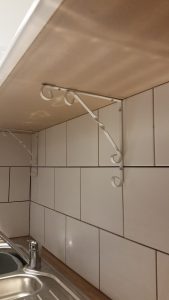
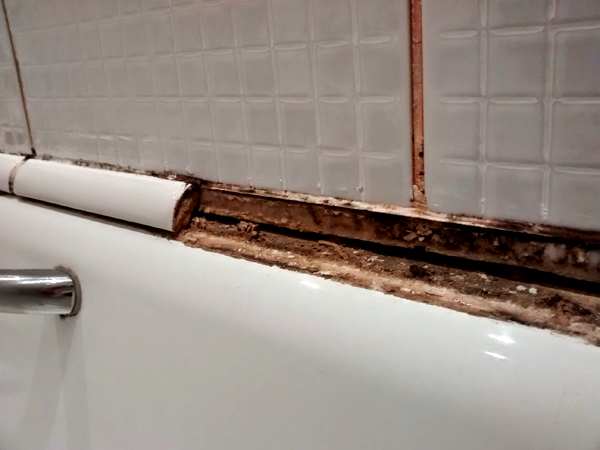
Kitchen Splashback to remove
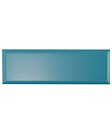
diamante teal

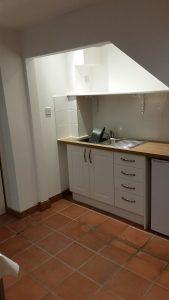
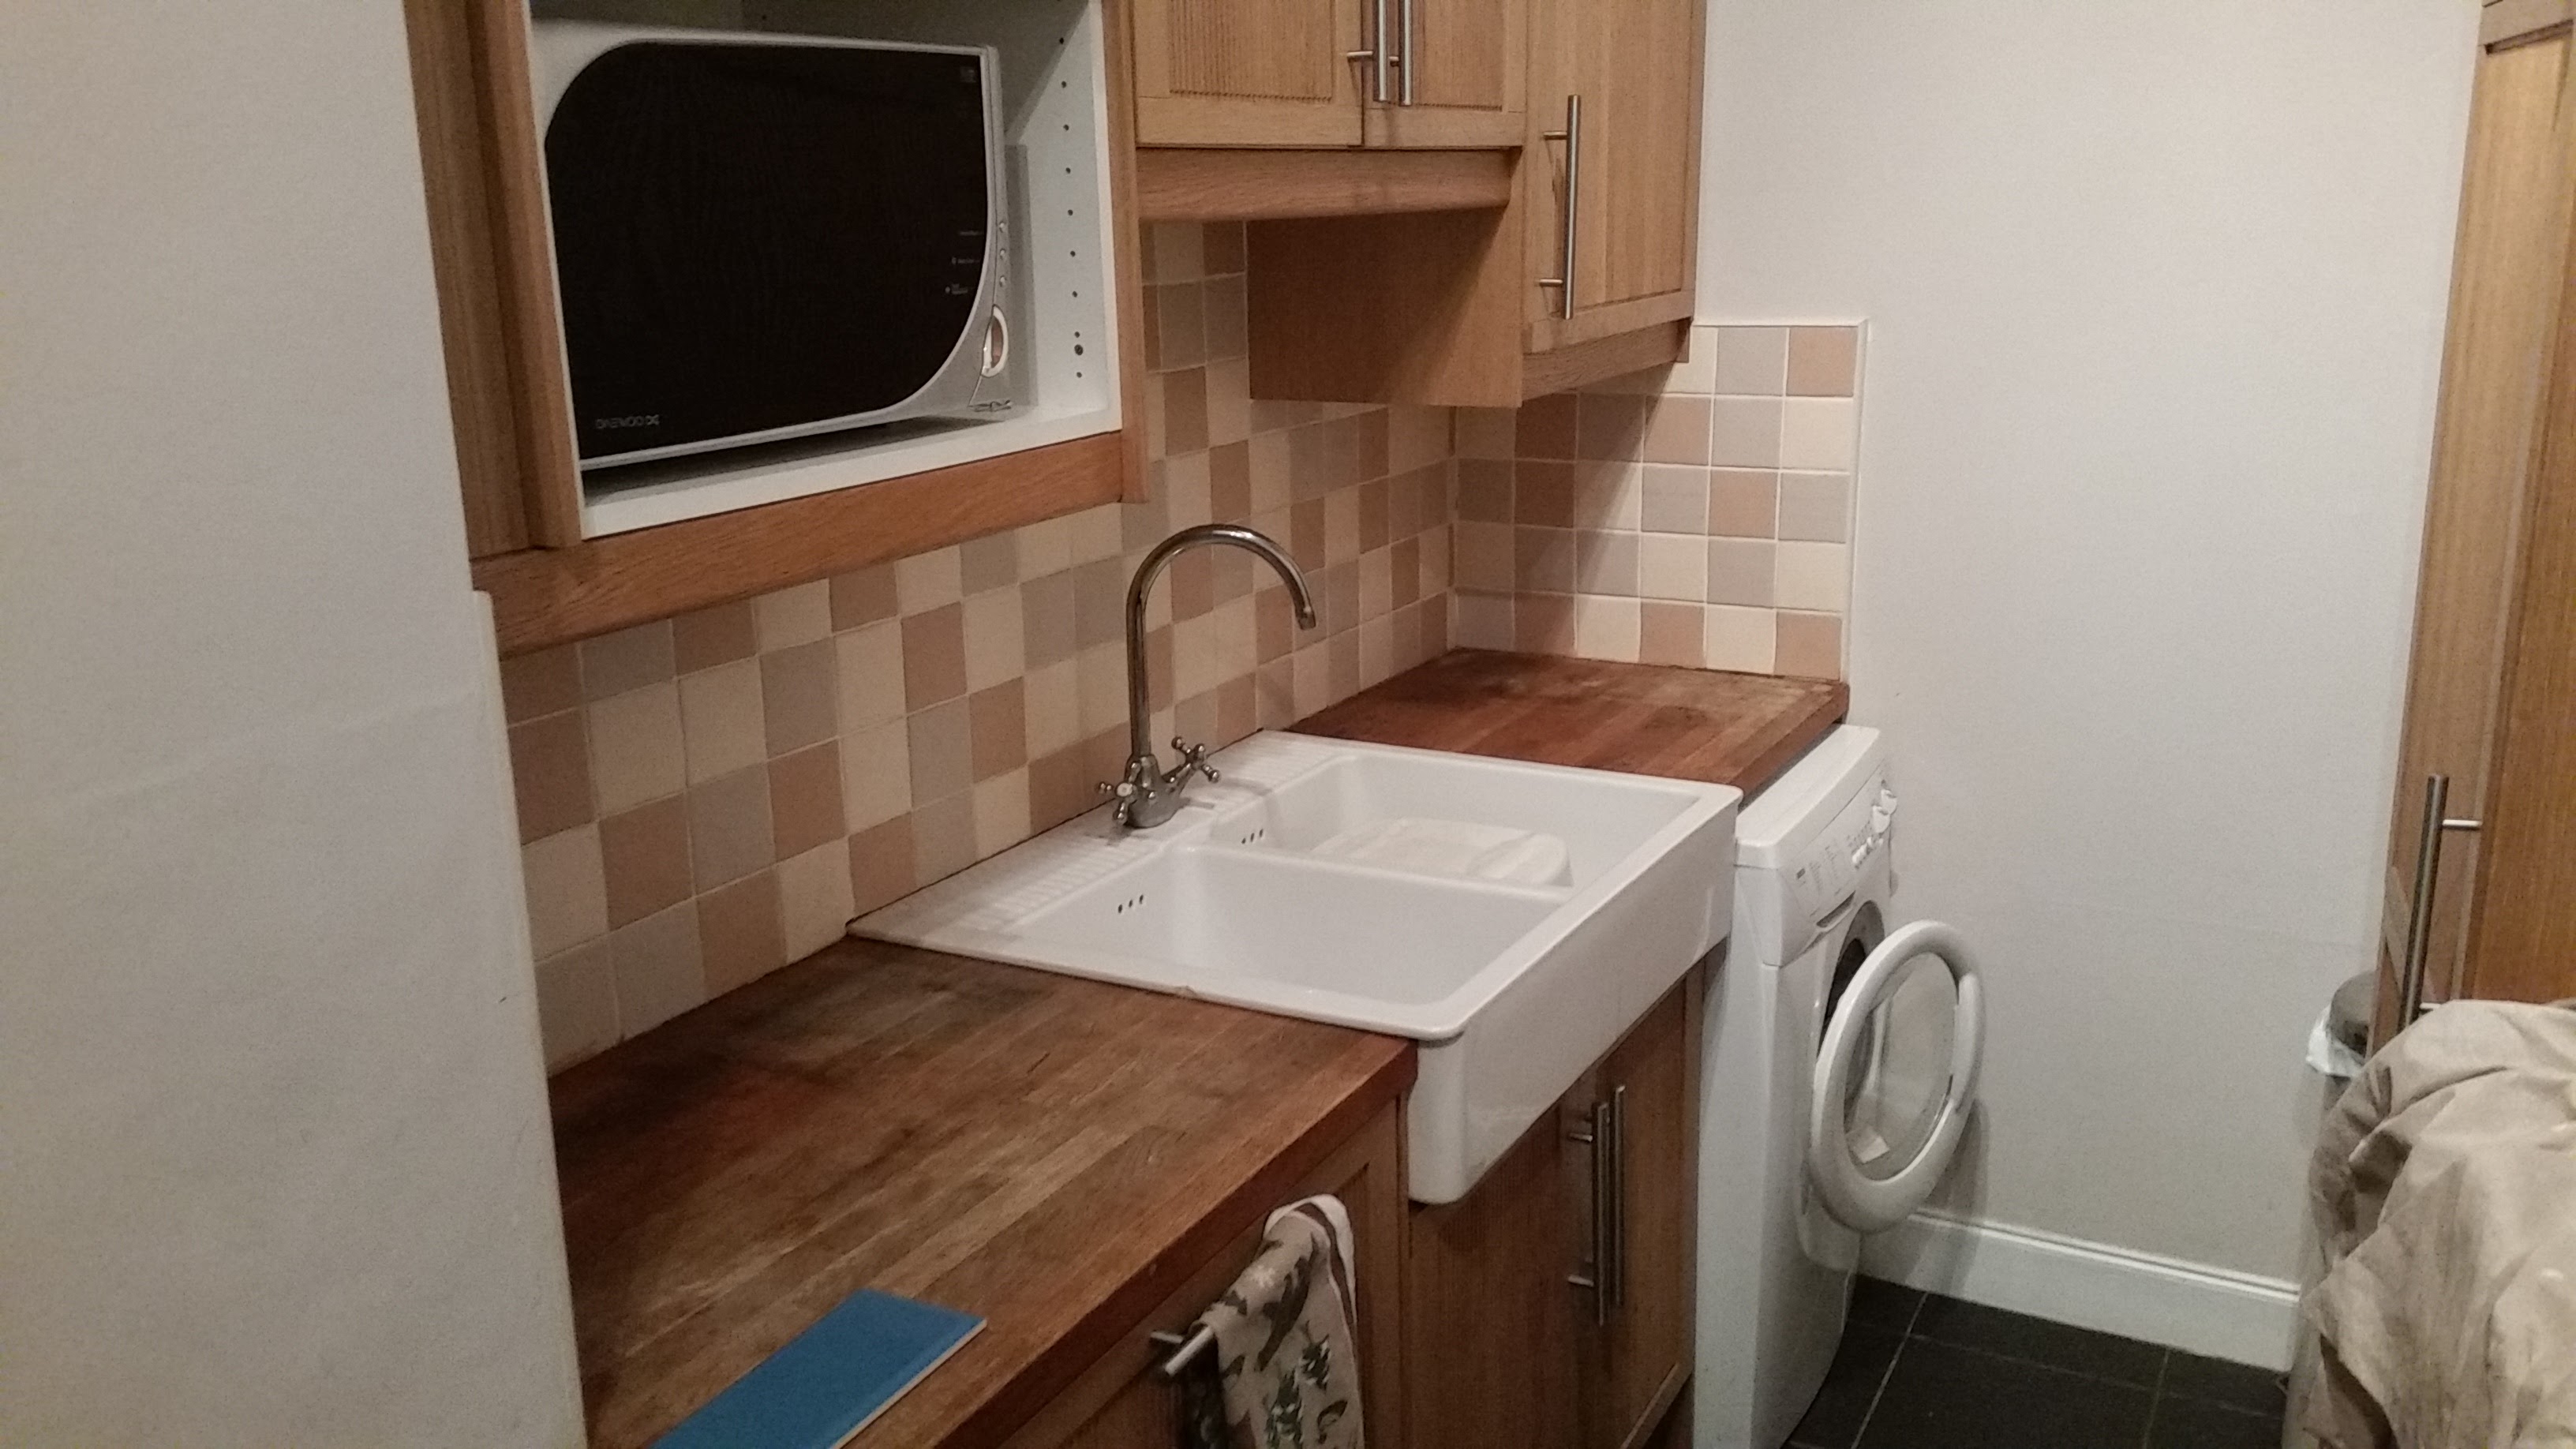
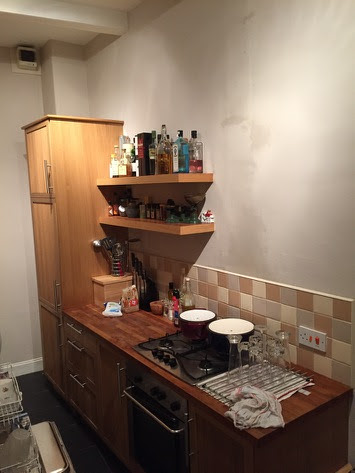
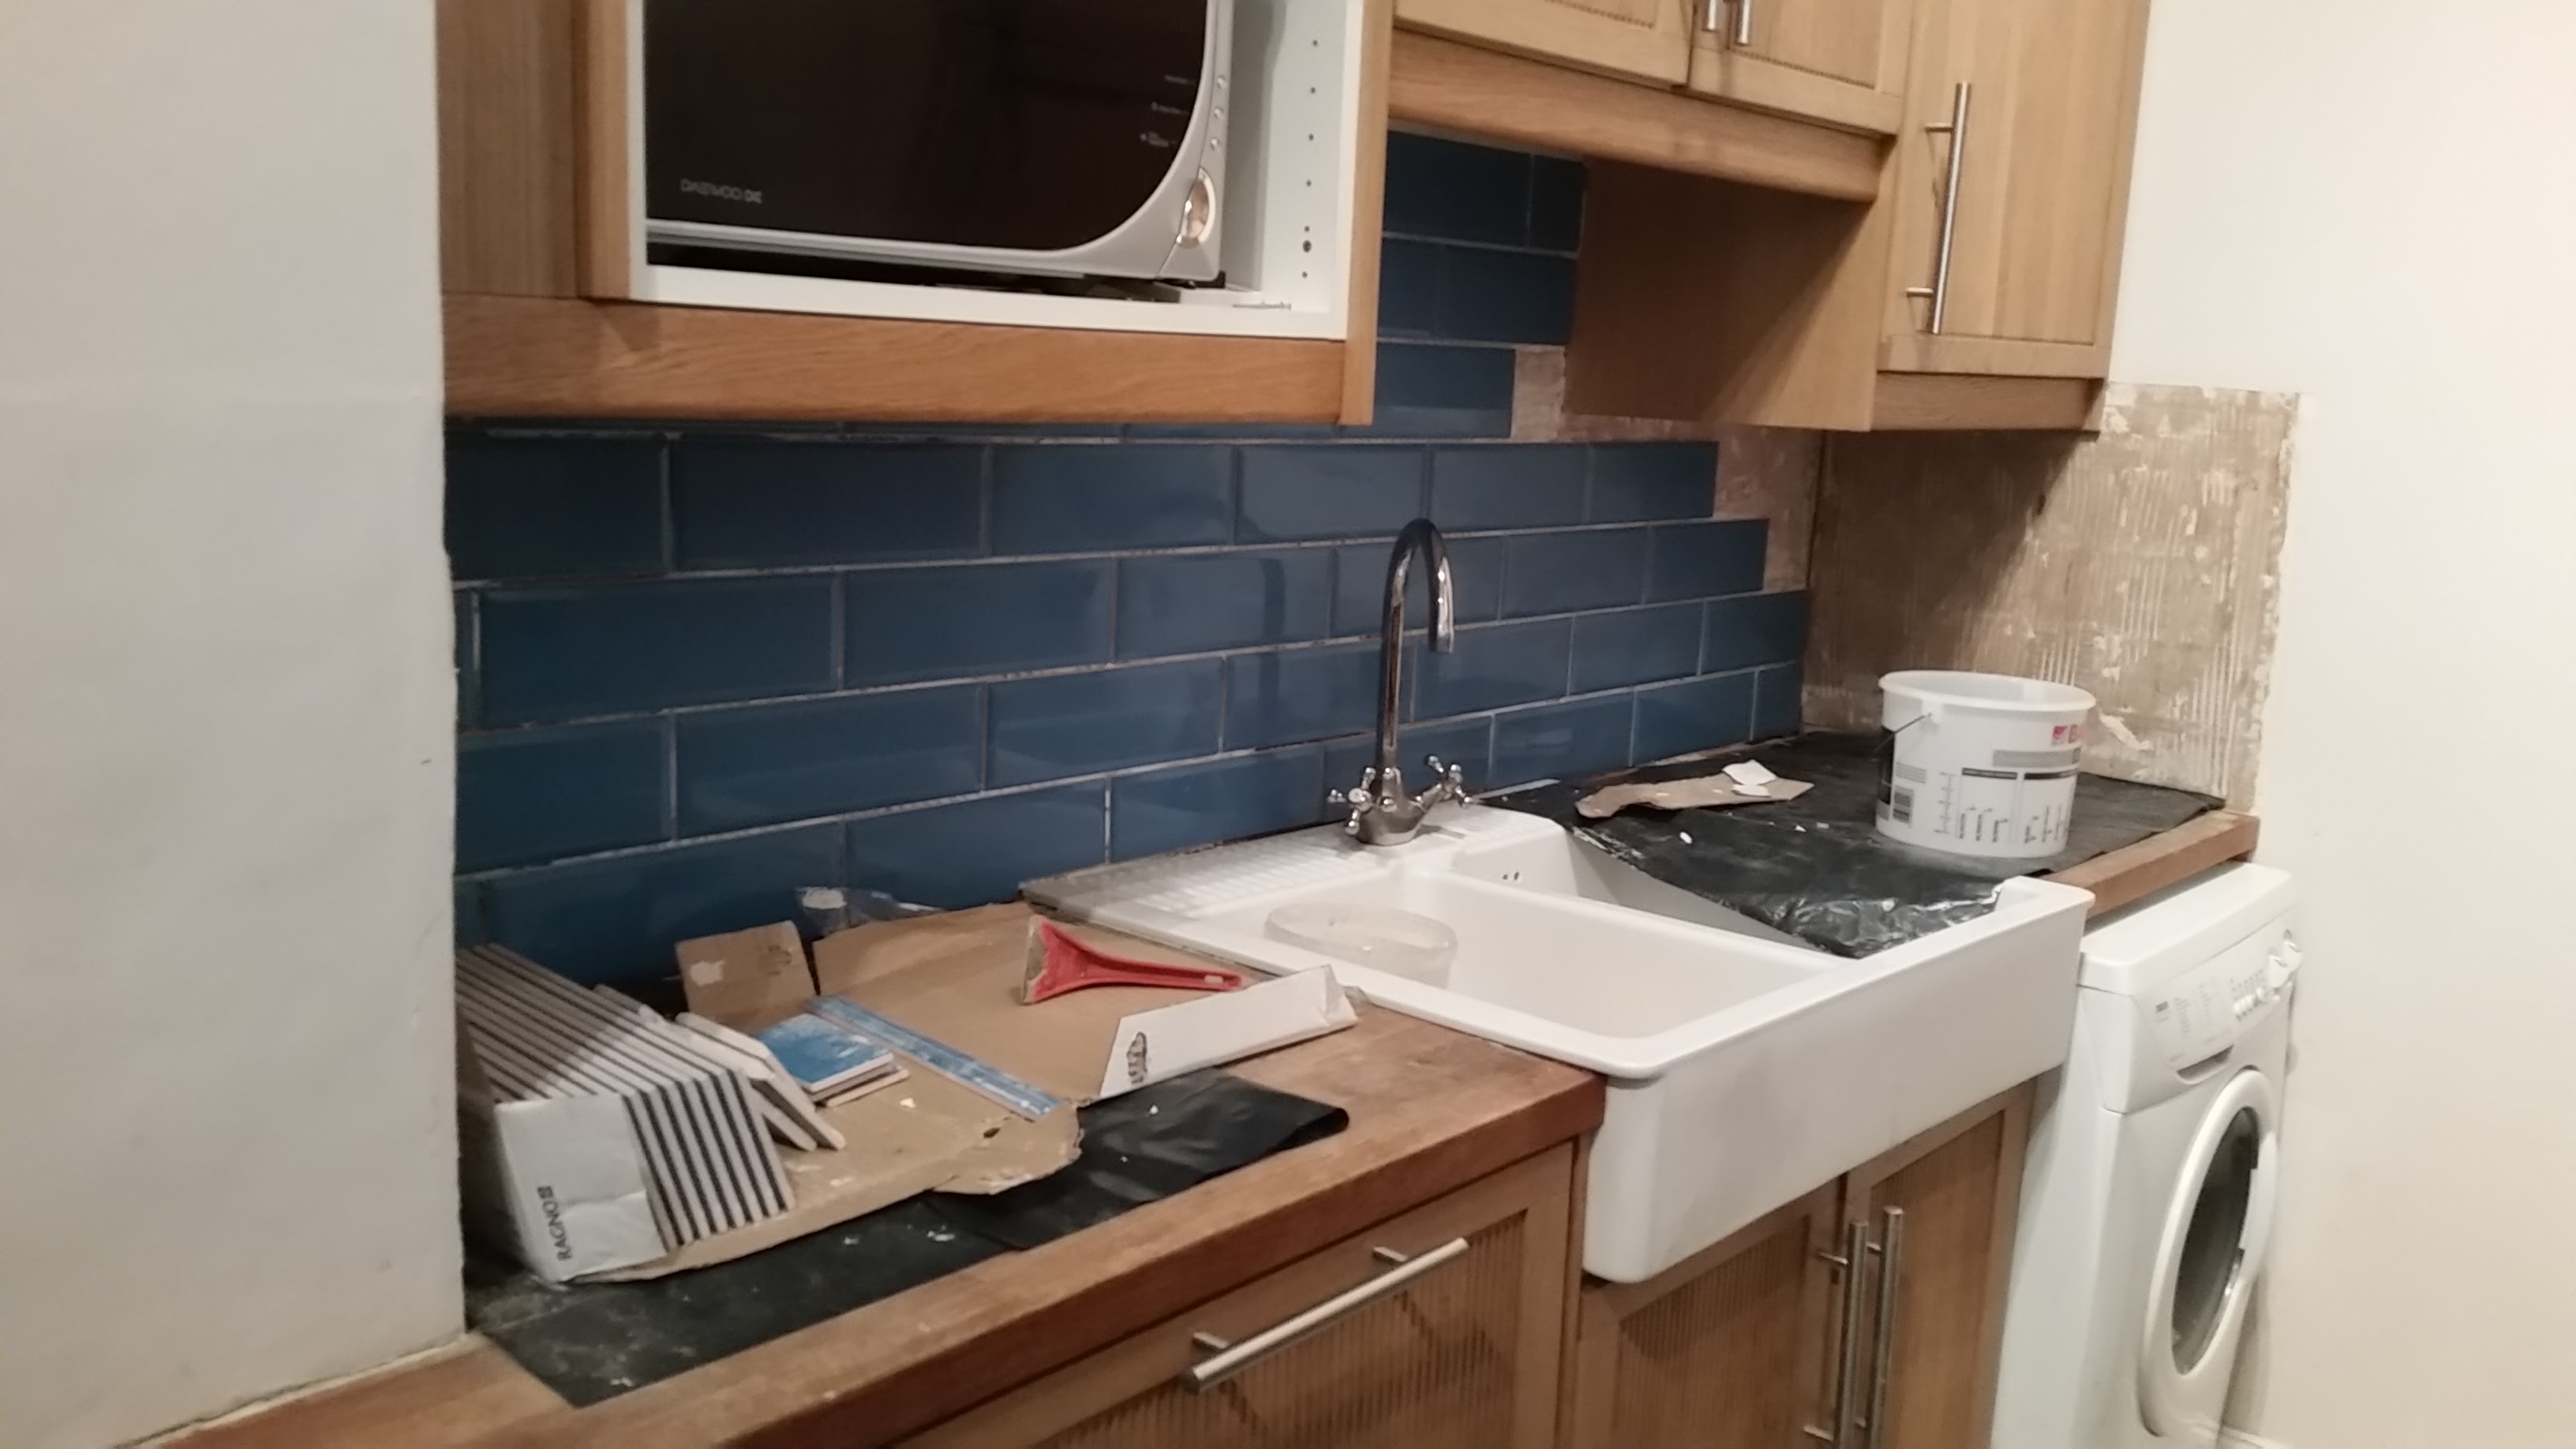
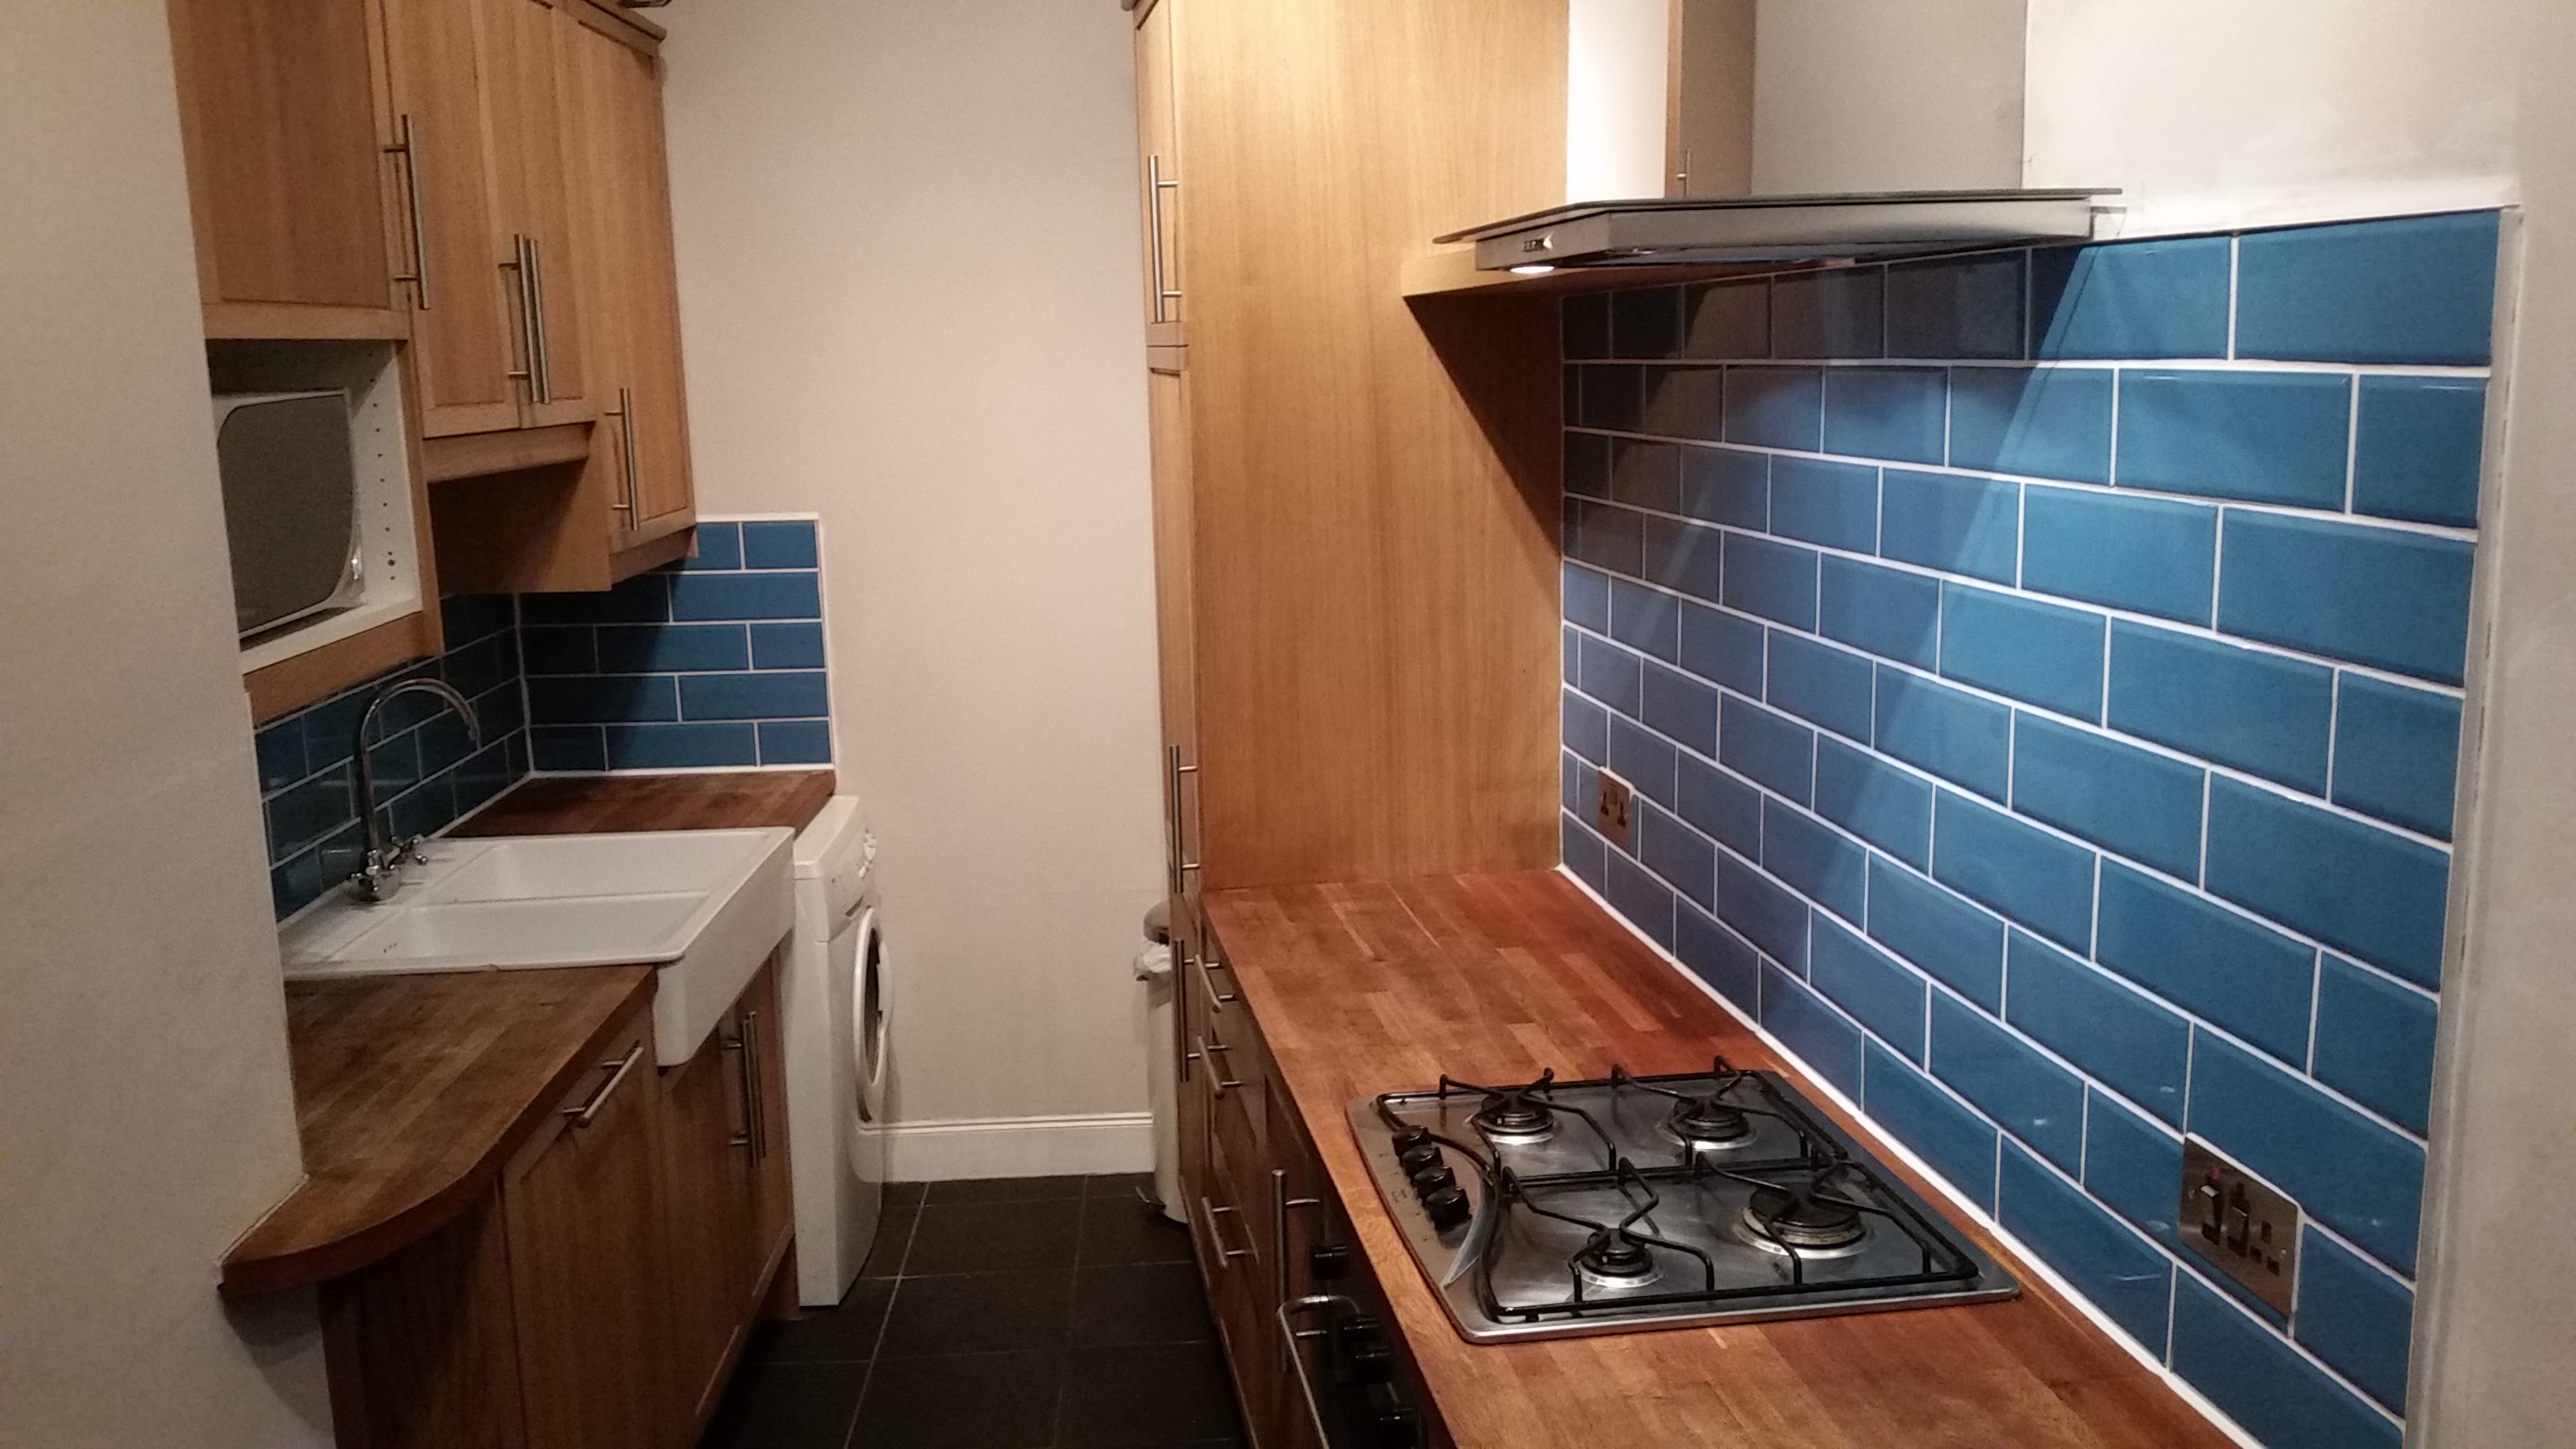
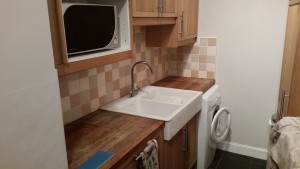
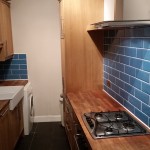
Galley kitchen
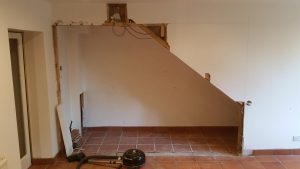
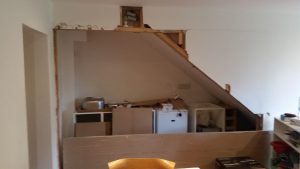
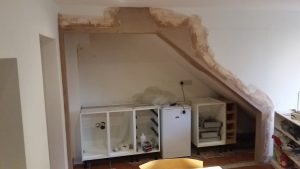
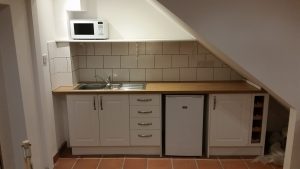
For this job the kitchen was a galley style, with good work surface and storage space but sadly lacking in any real ventilation other than a small extractor fan fitted at high level, almost like an afterthought.
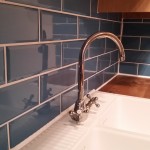
The plan was to remove the old tiles and freshen the area up with a more modern feel. The tiles used were Diamante Teal sourced from Topps Tiles.
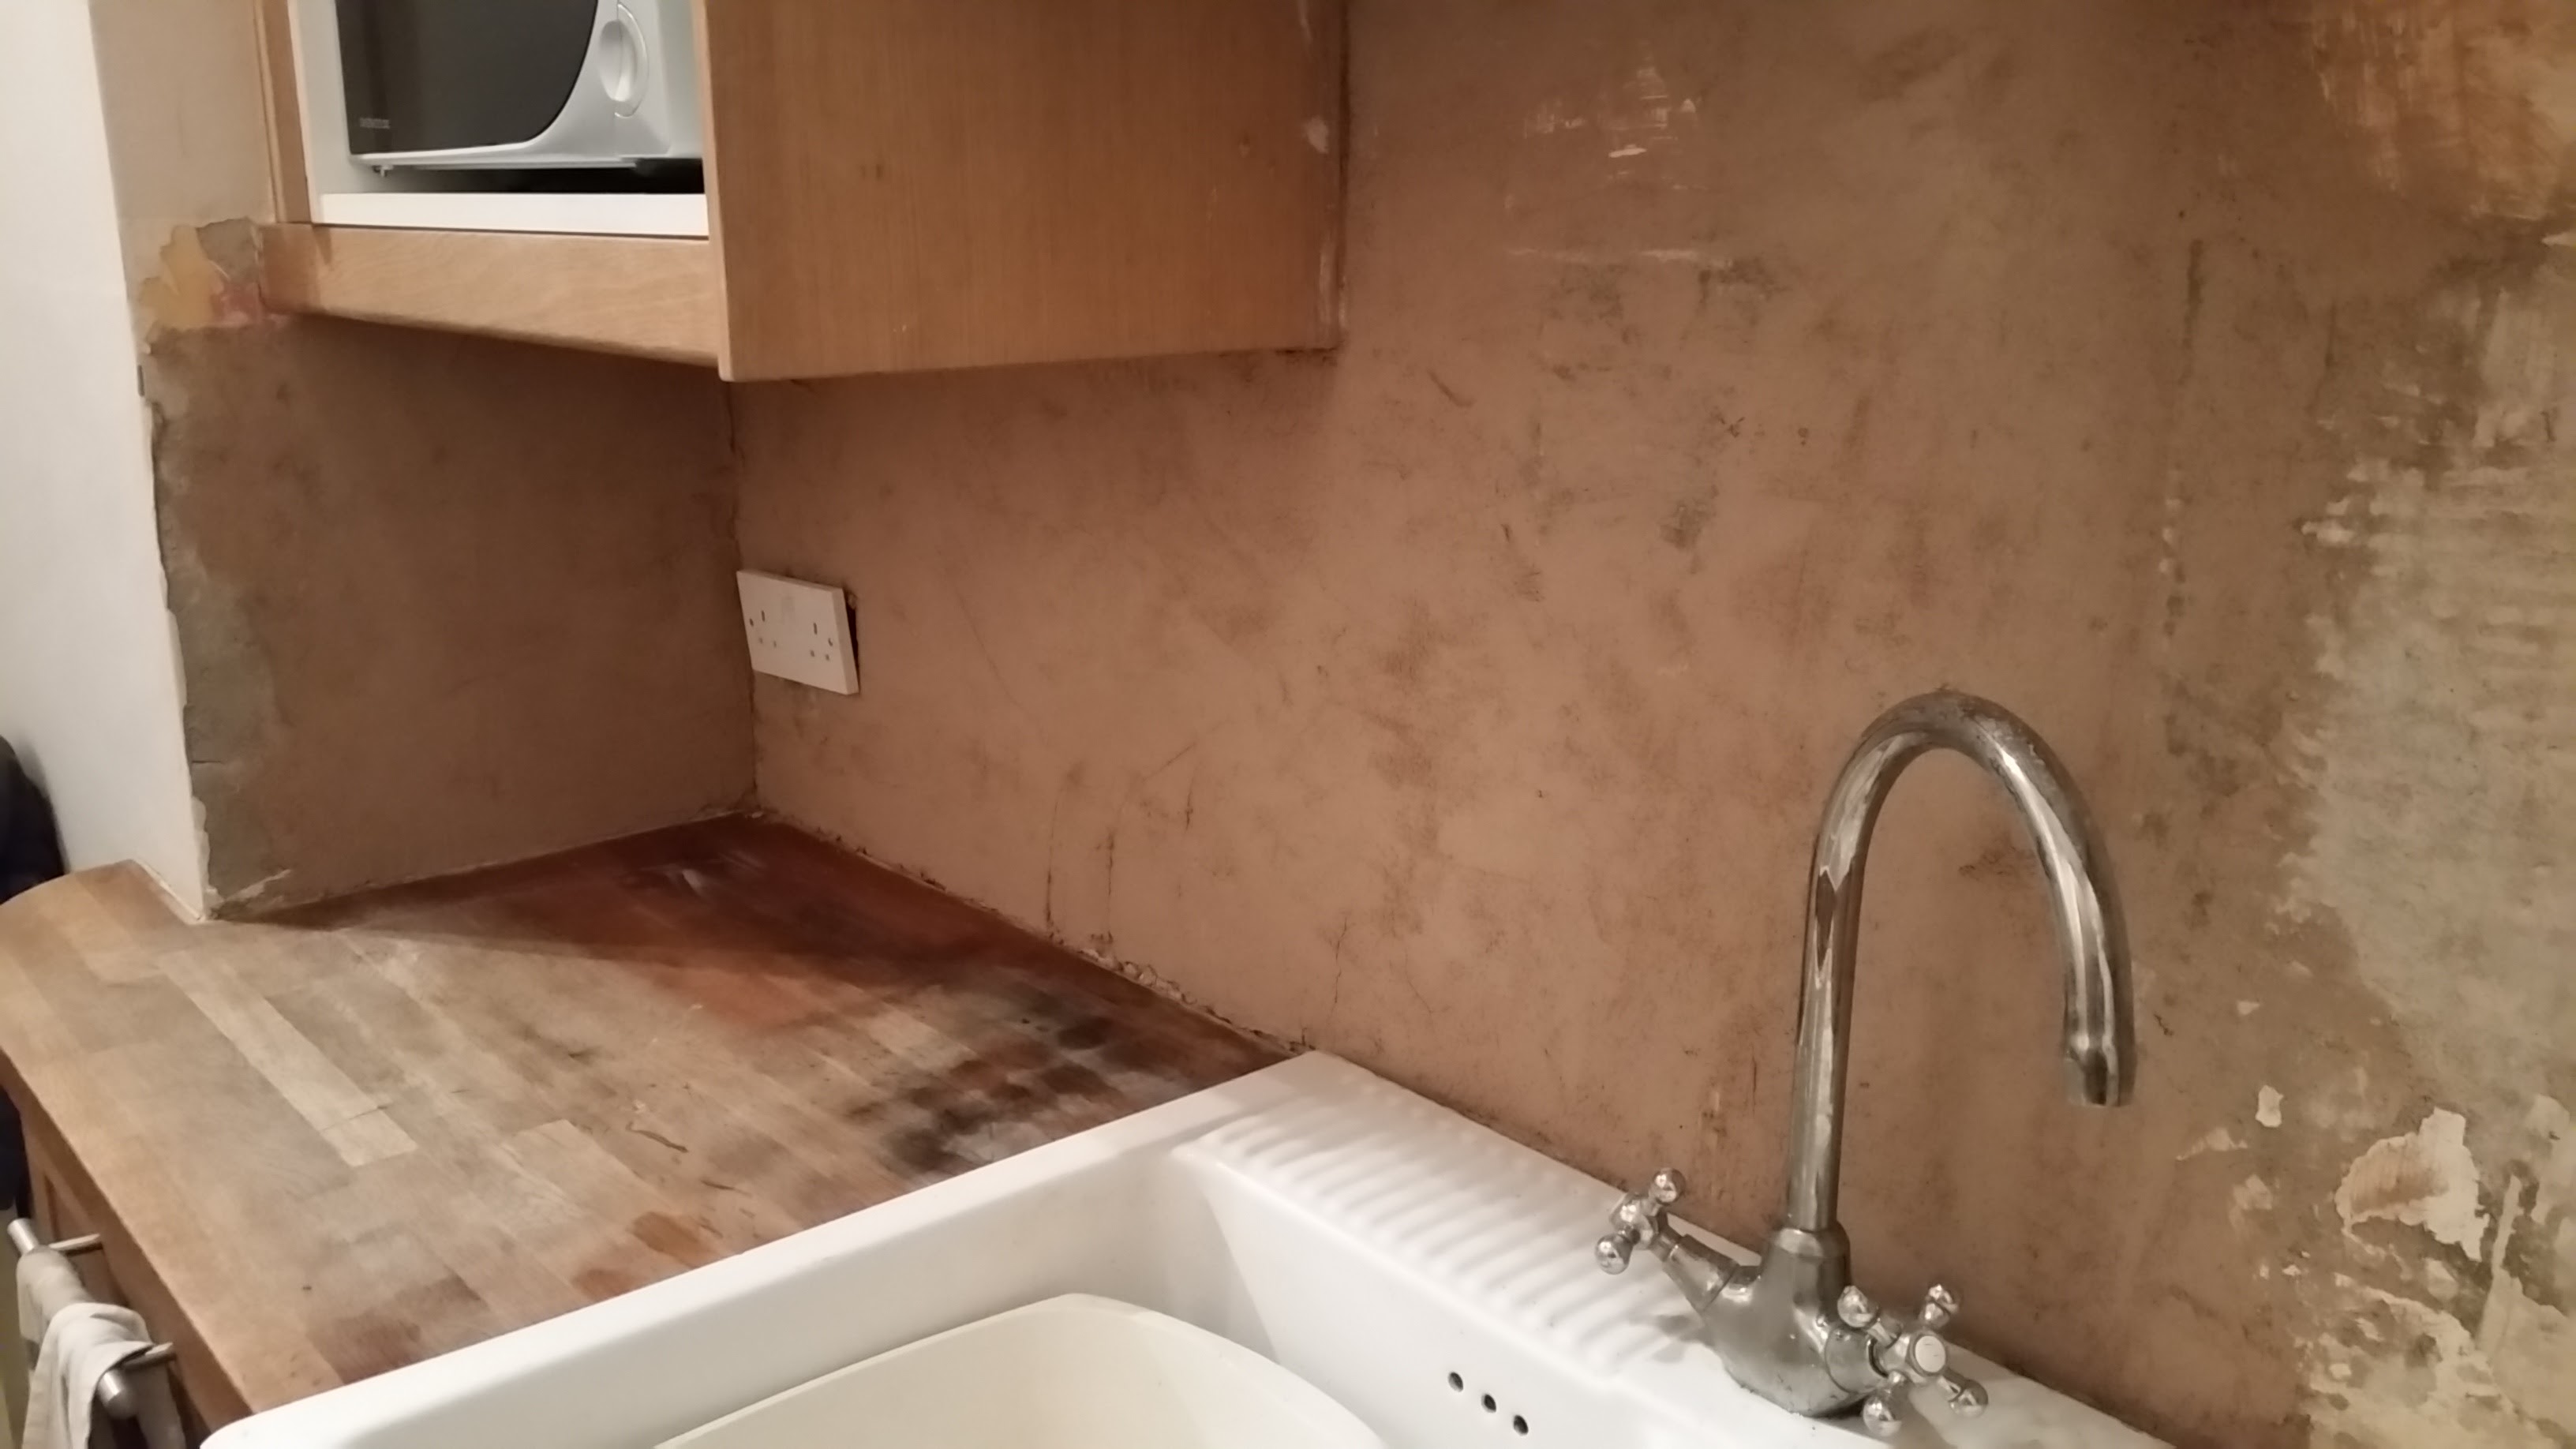
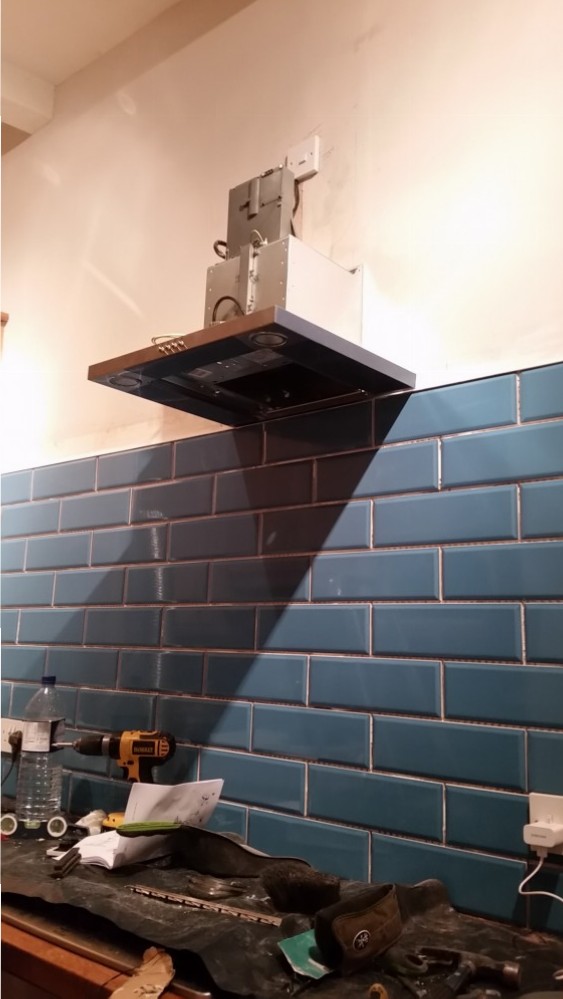
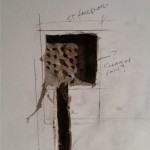
The first task was to remove existing shelves and tiles from the walls. In this case they came away with relatively little damage to the walls. The position of the new extractor hood also needed to be calculated to sit just above the final row of tiles, and centrally over the hob.
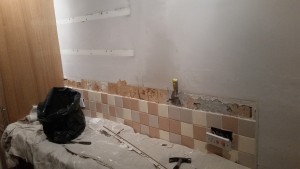
Removing kitchen Splashback
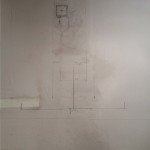
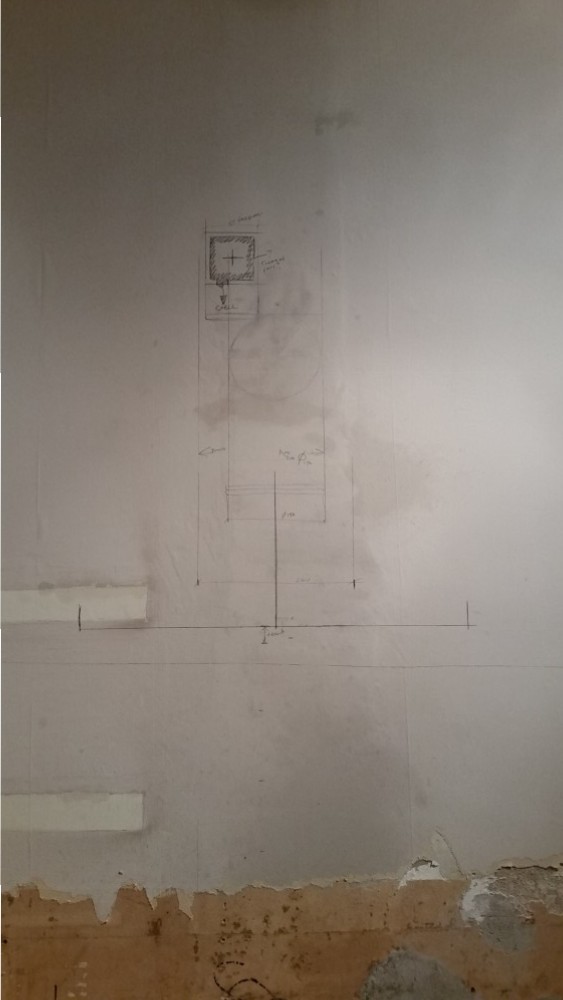
Marking area for new extractor hood
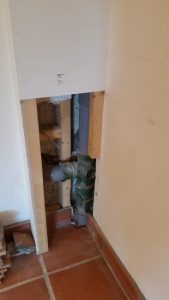
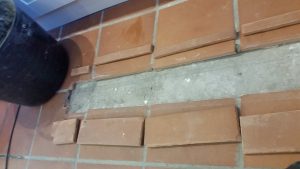
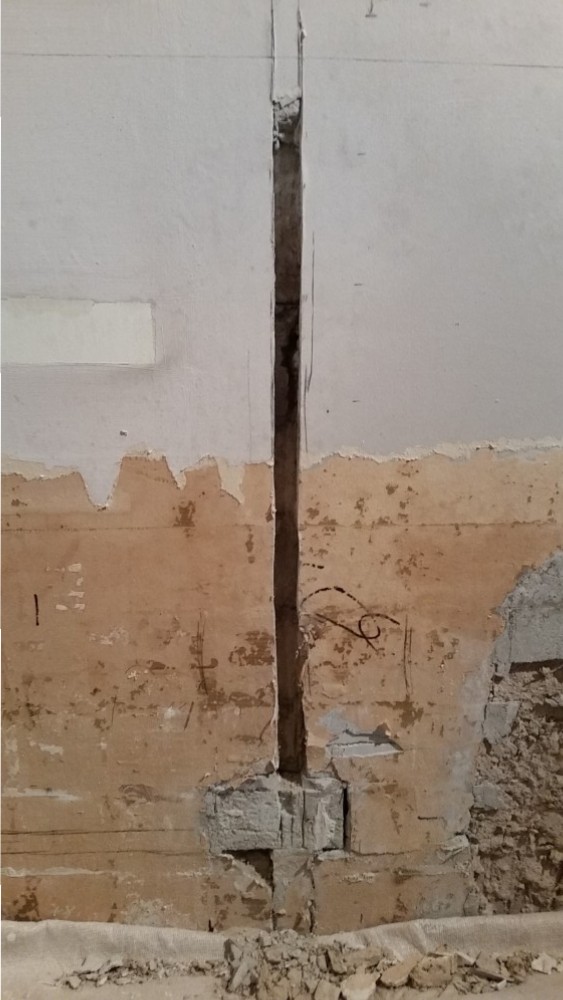
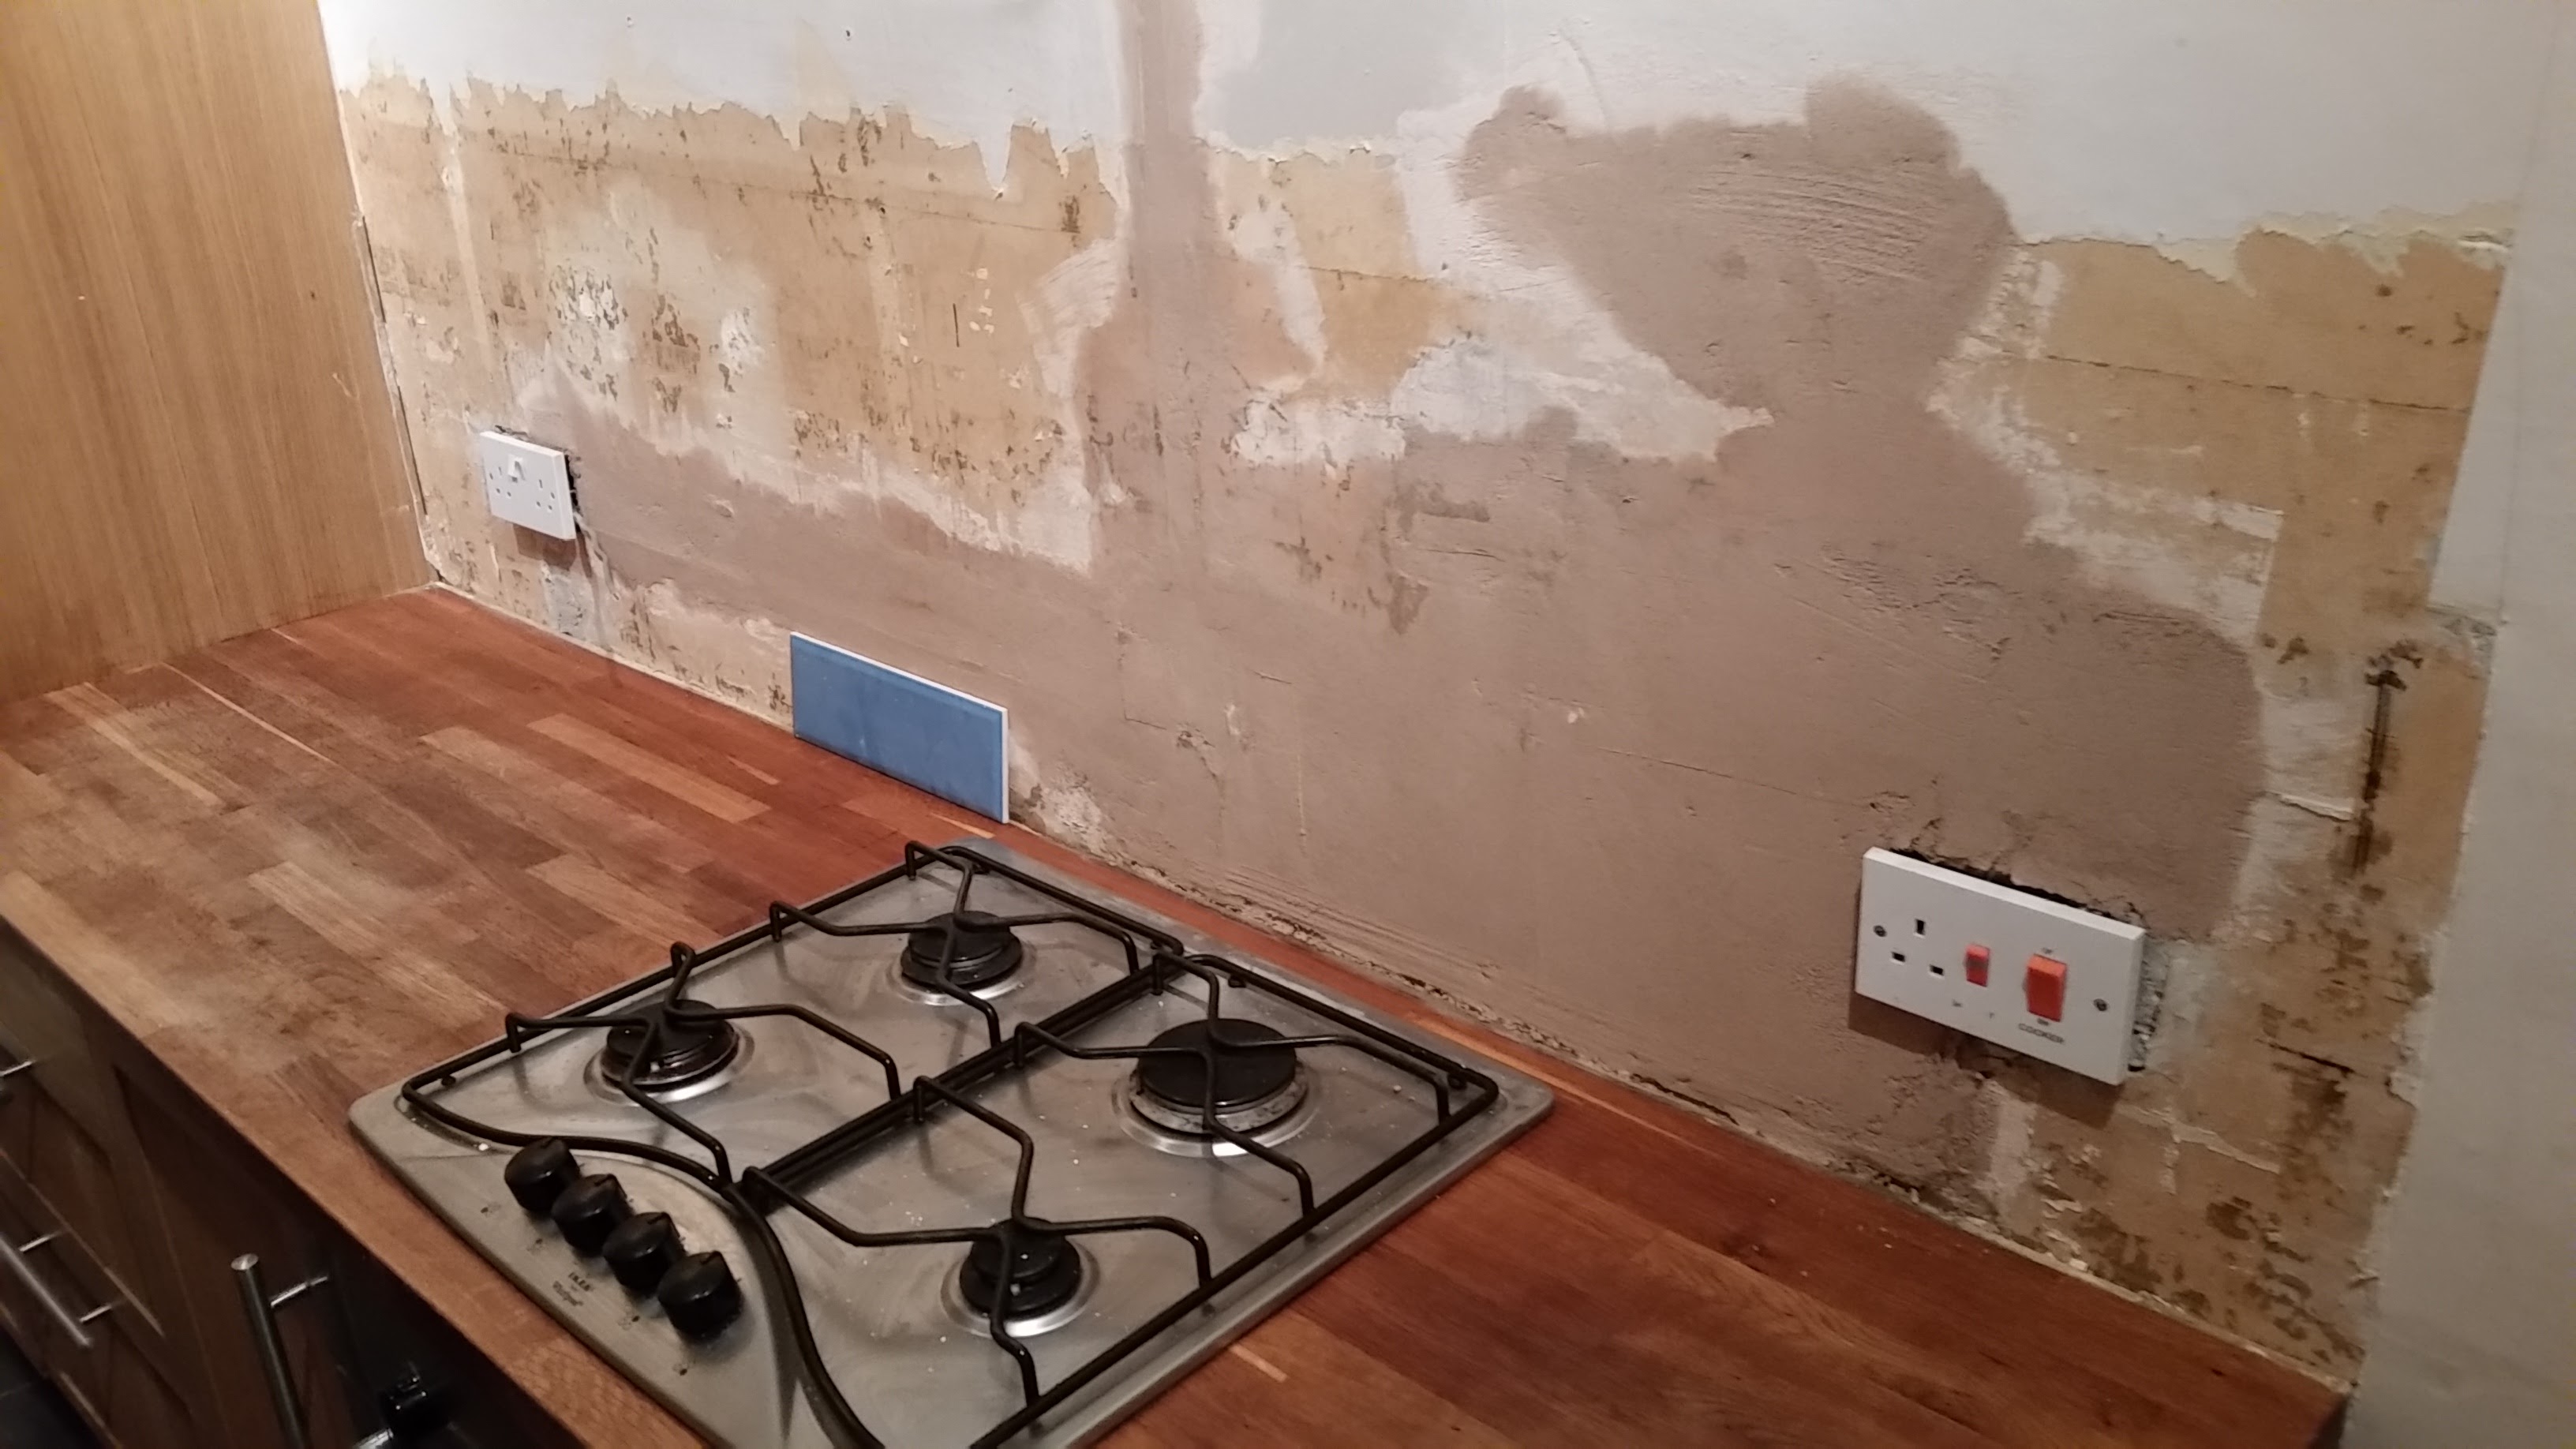
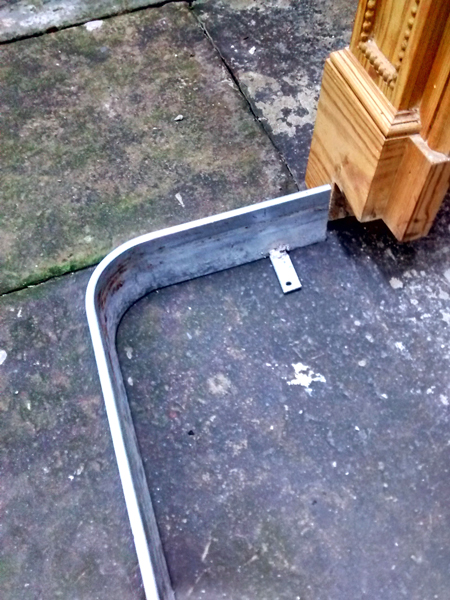
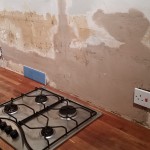
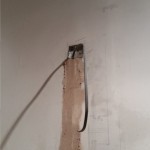
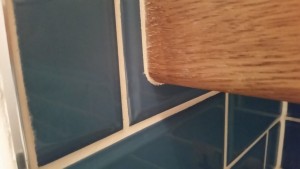
For the cooker hood a channel was required to be chased into the wall for the electrician to run a cable to a switched fused spur which would be located behind the extractor hood ducting.
Horizontal chase
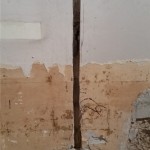
Vertical wall chase
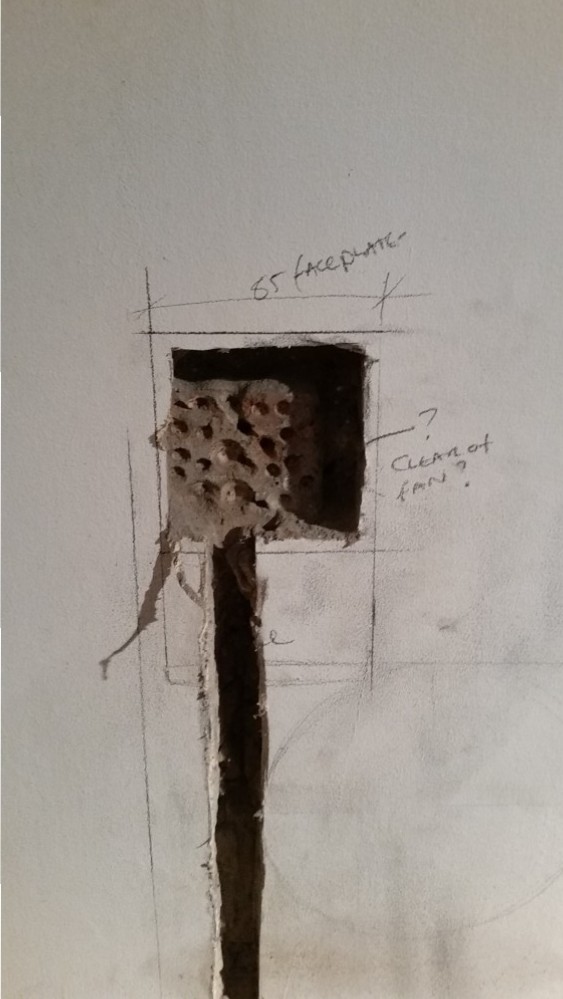
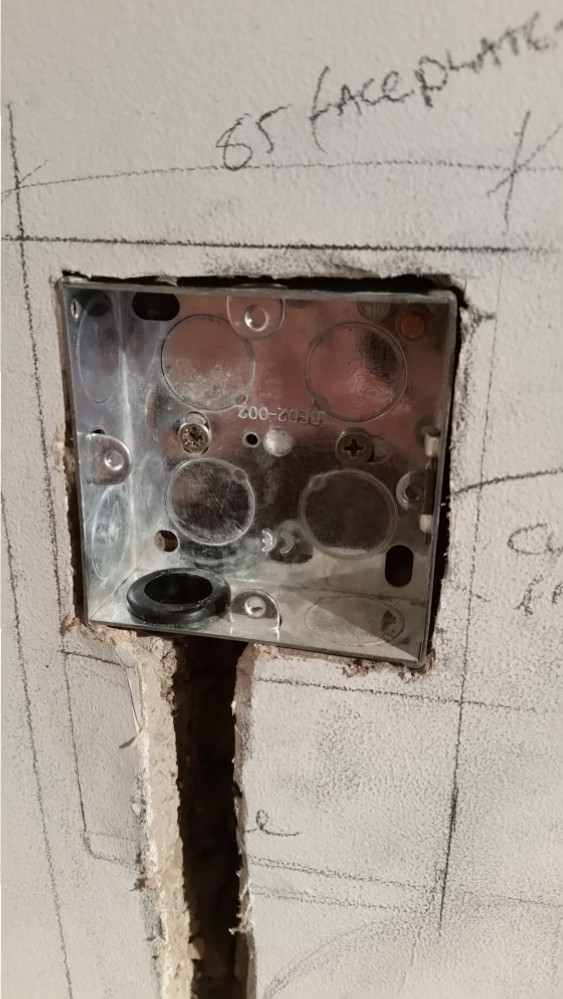
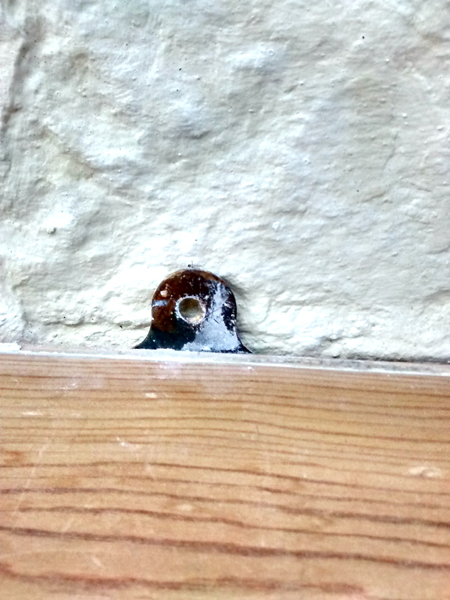
Hole for patress box
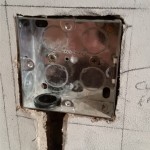
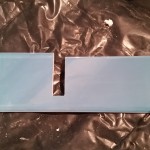
metal patress box
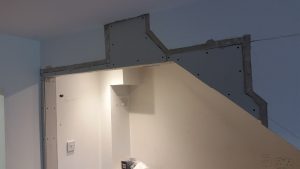
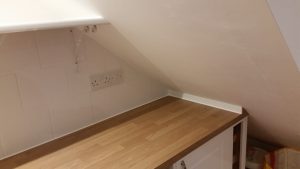
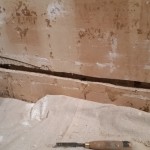
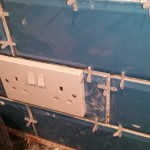
Once the cable had been installed the wall had to be made good using undercoat plaster and ready to begin tiling.
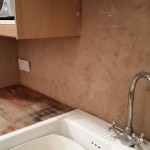
damaged wall repaired with undercoat plaster
Prepared walls with undercoat plaster
Cables Plastered into wall
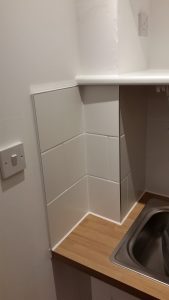
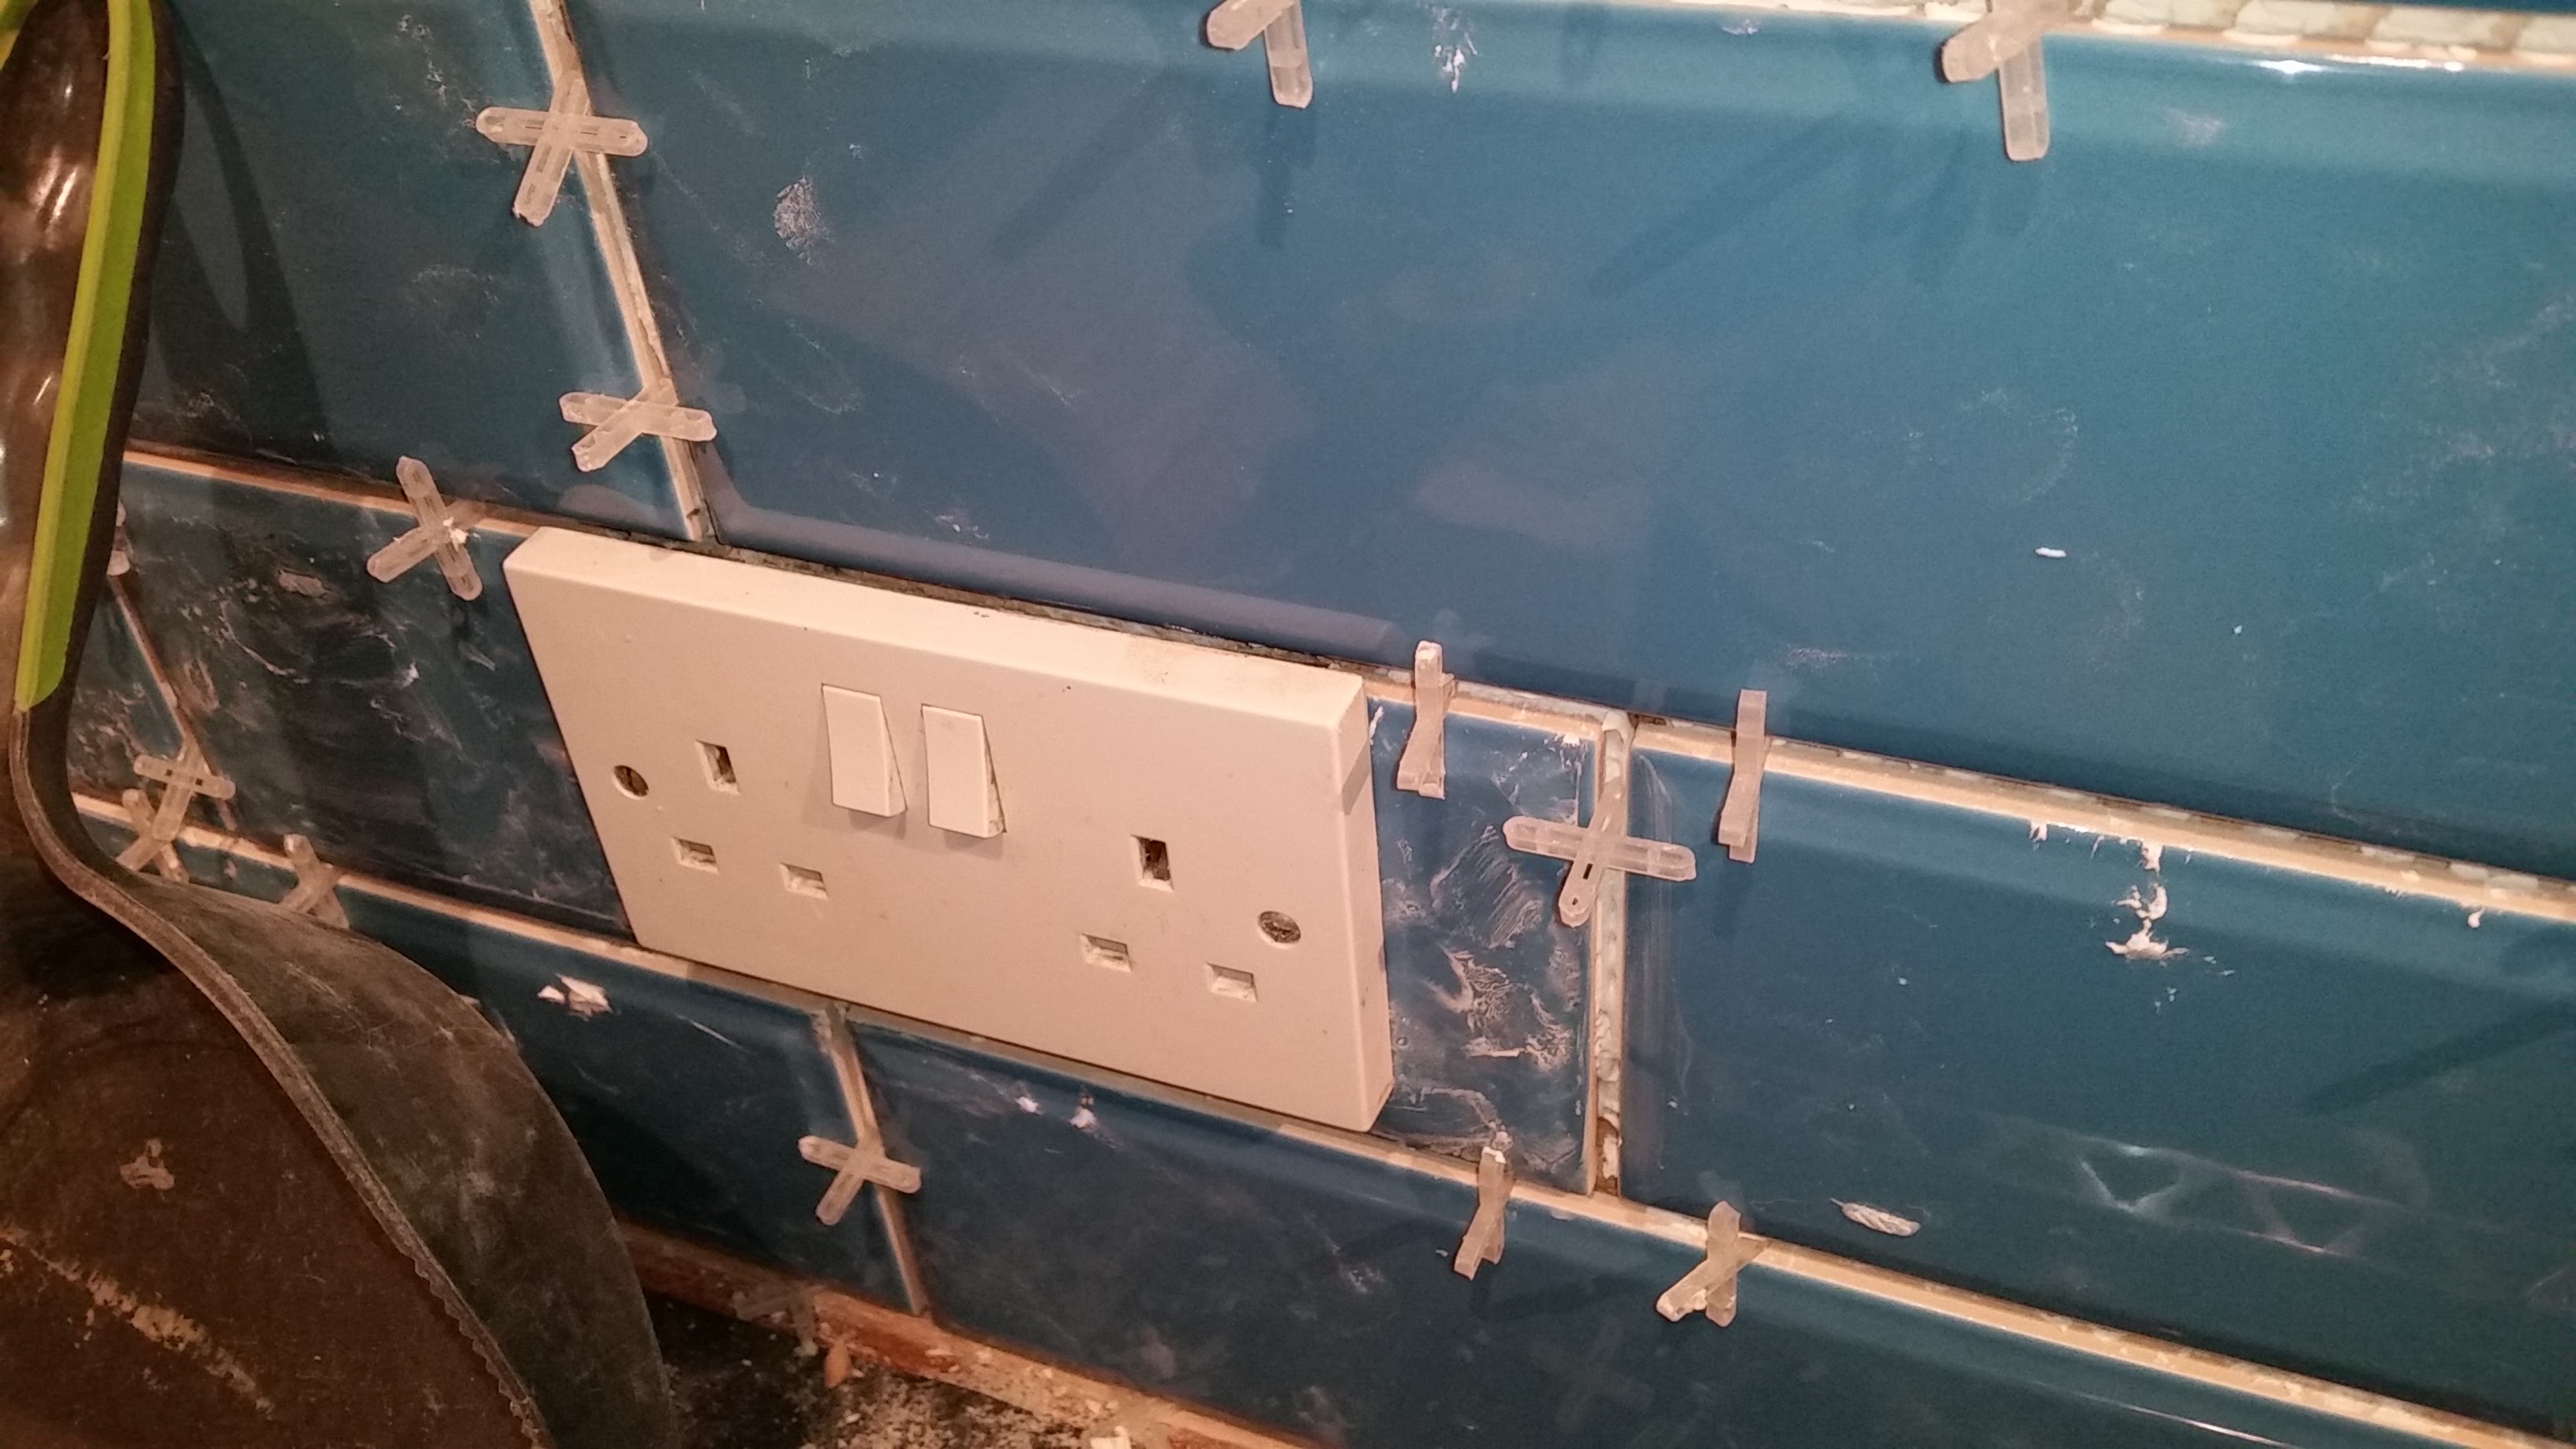
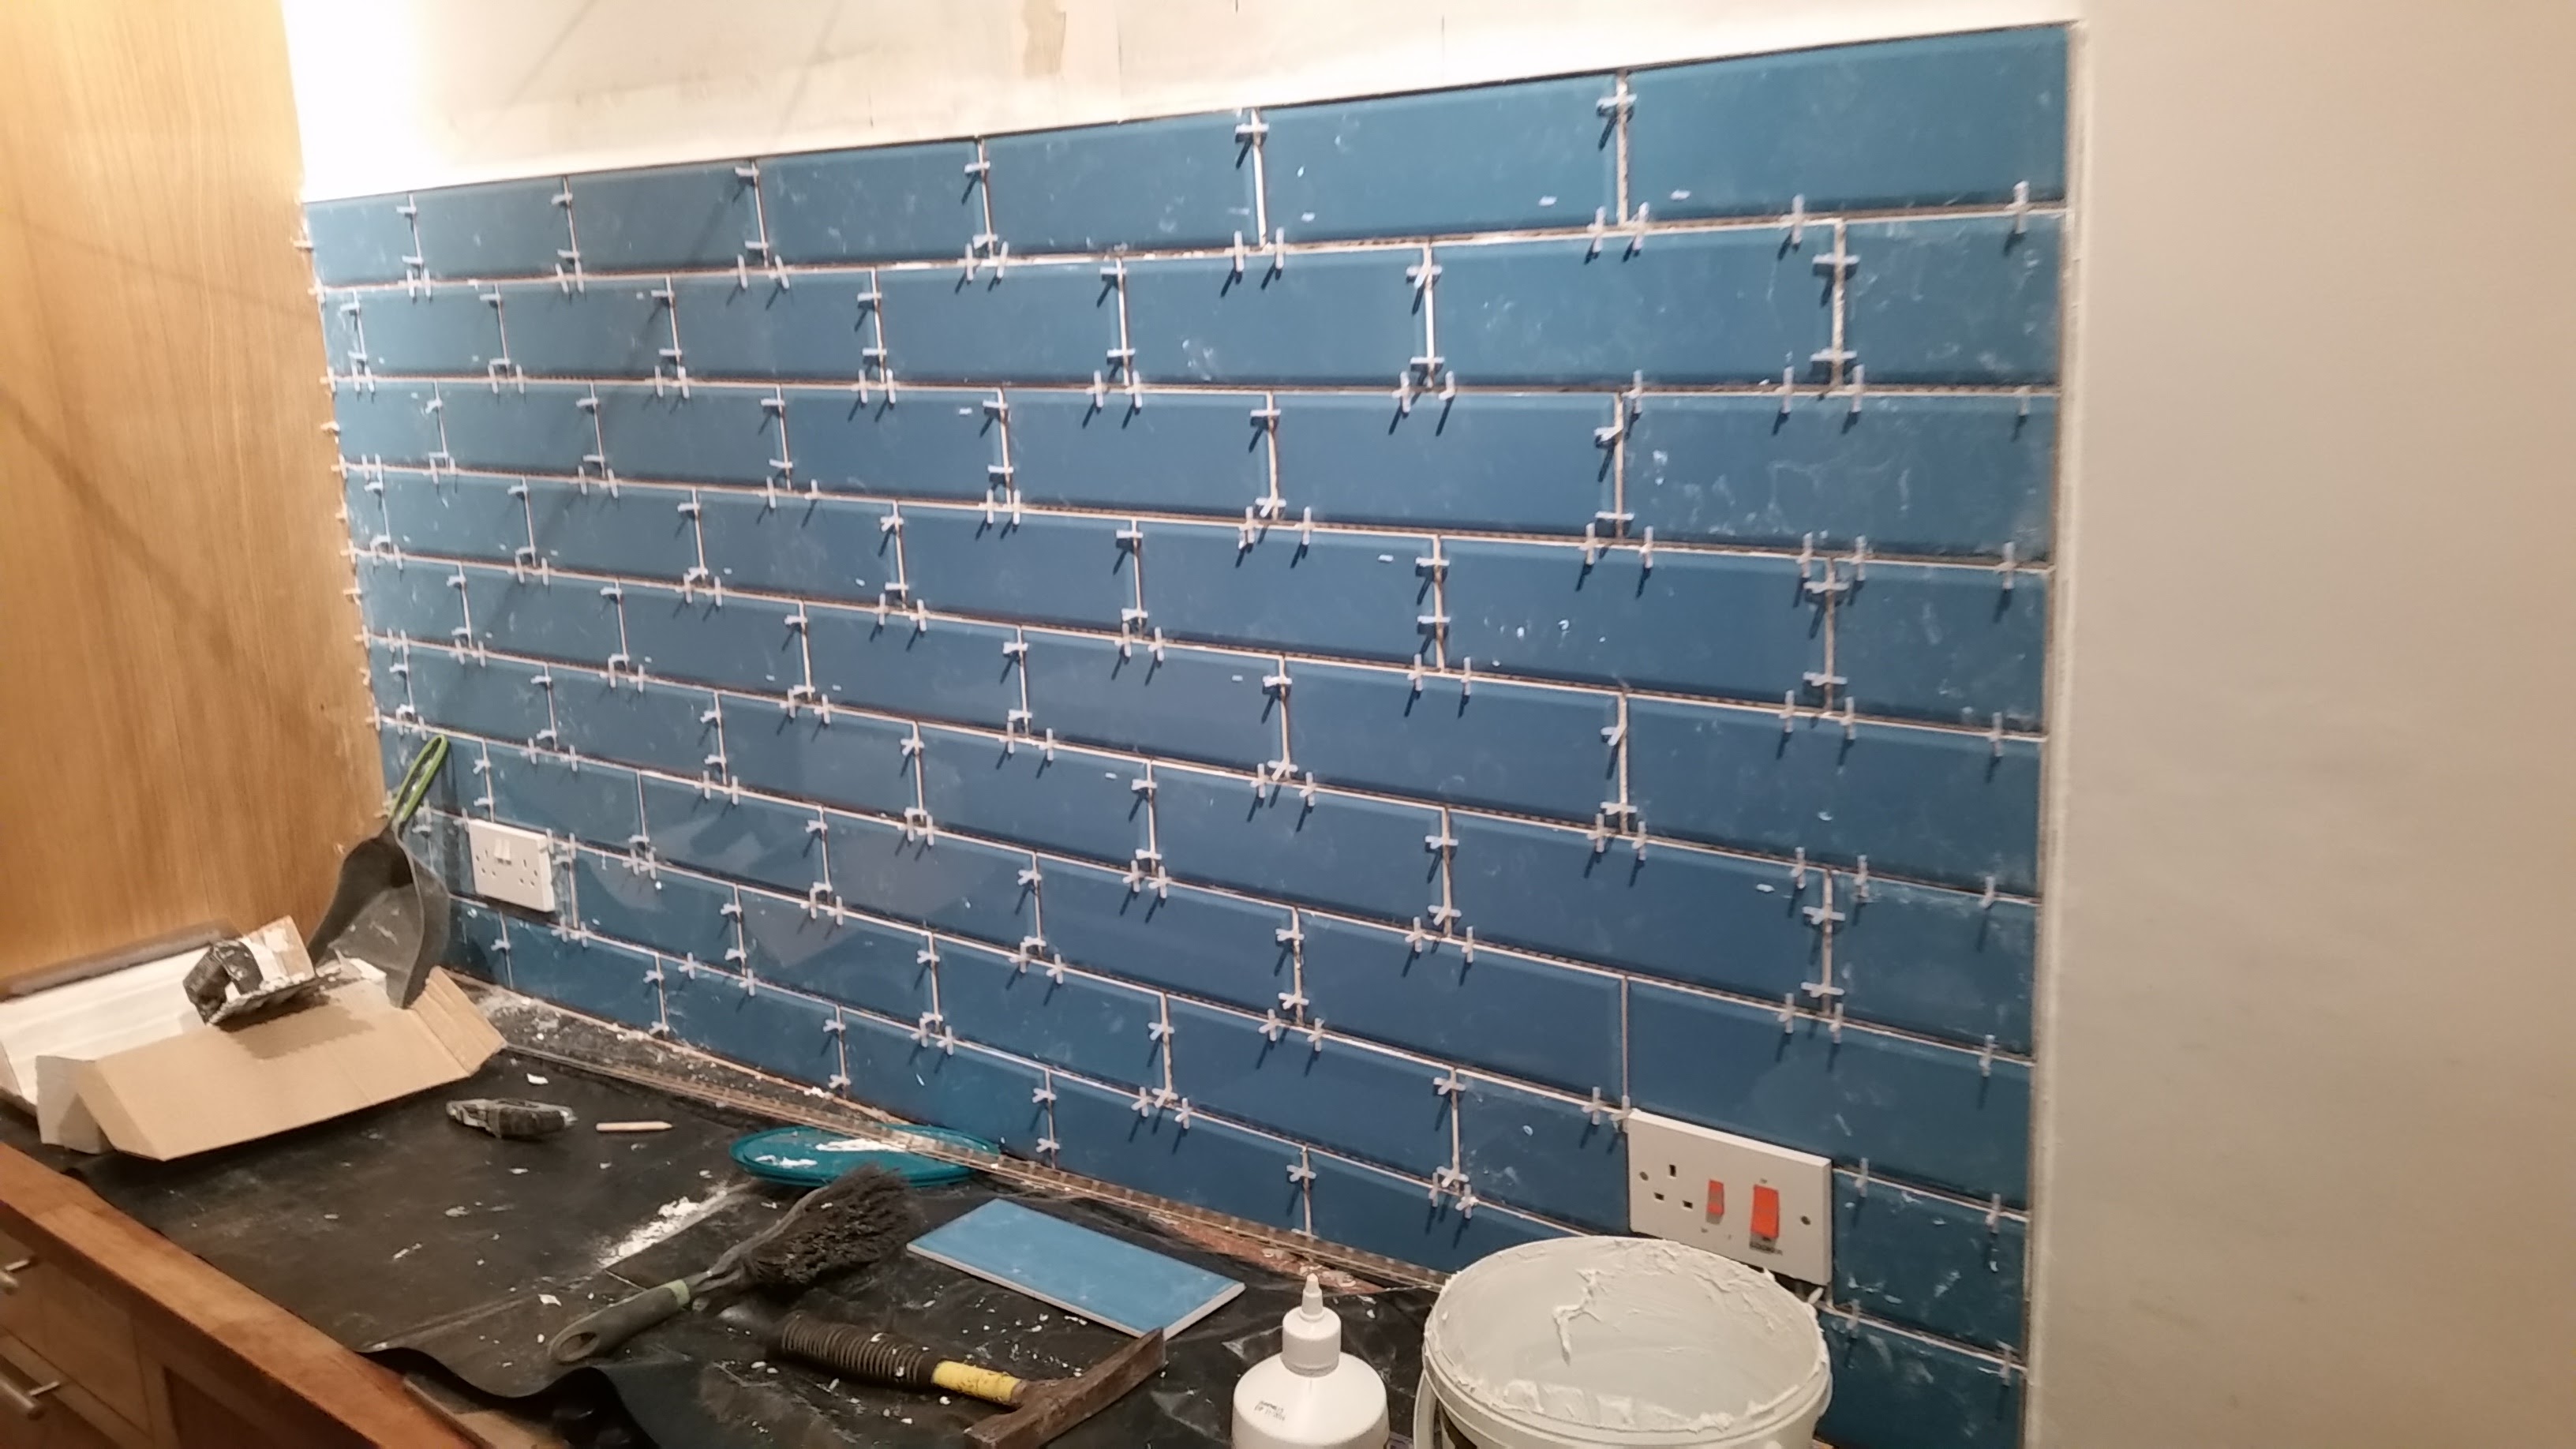
With the walls prepared tiling could begin. Fitting the tiles with a staggered brick effect can have a great finished result but can take a little more time to fit the tiles as all partial tiles at the end of a row have to be cut as you go to ensure all tiles above fit, unlike a standard tile pattern where you can cut all the partial tiles in one go after fitting all the whole tiles.
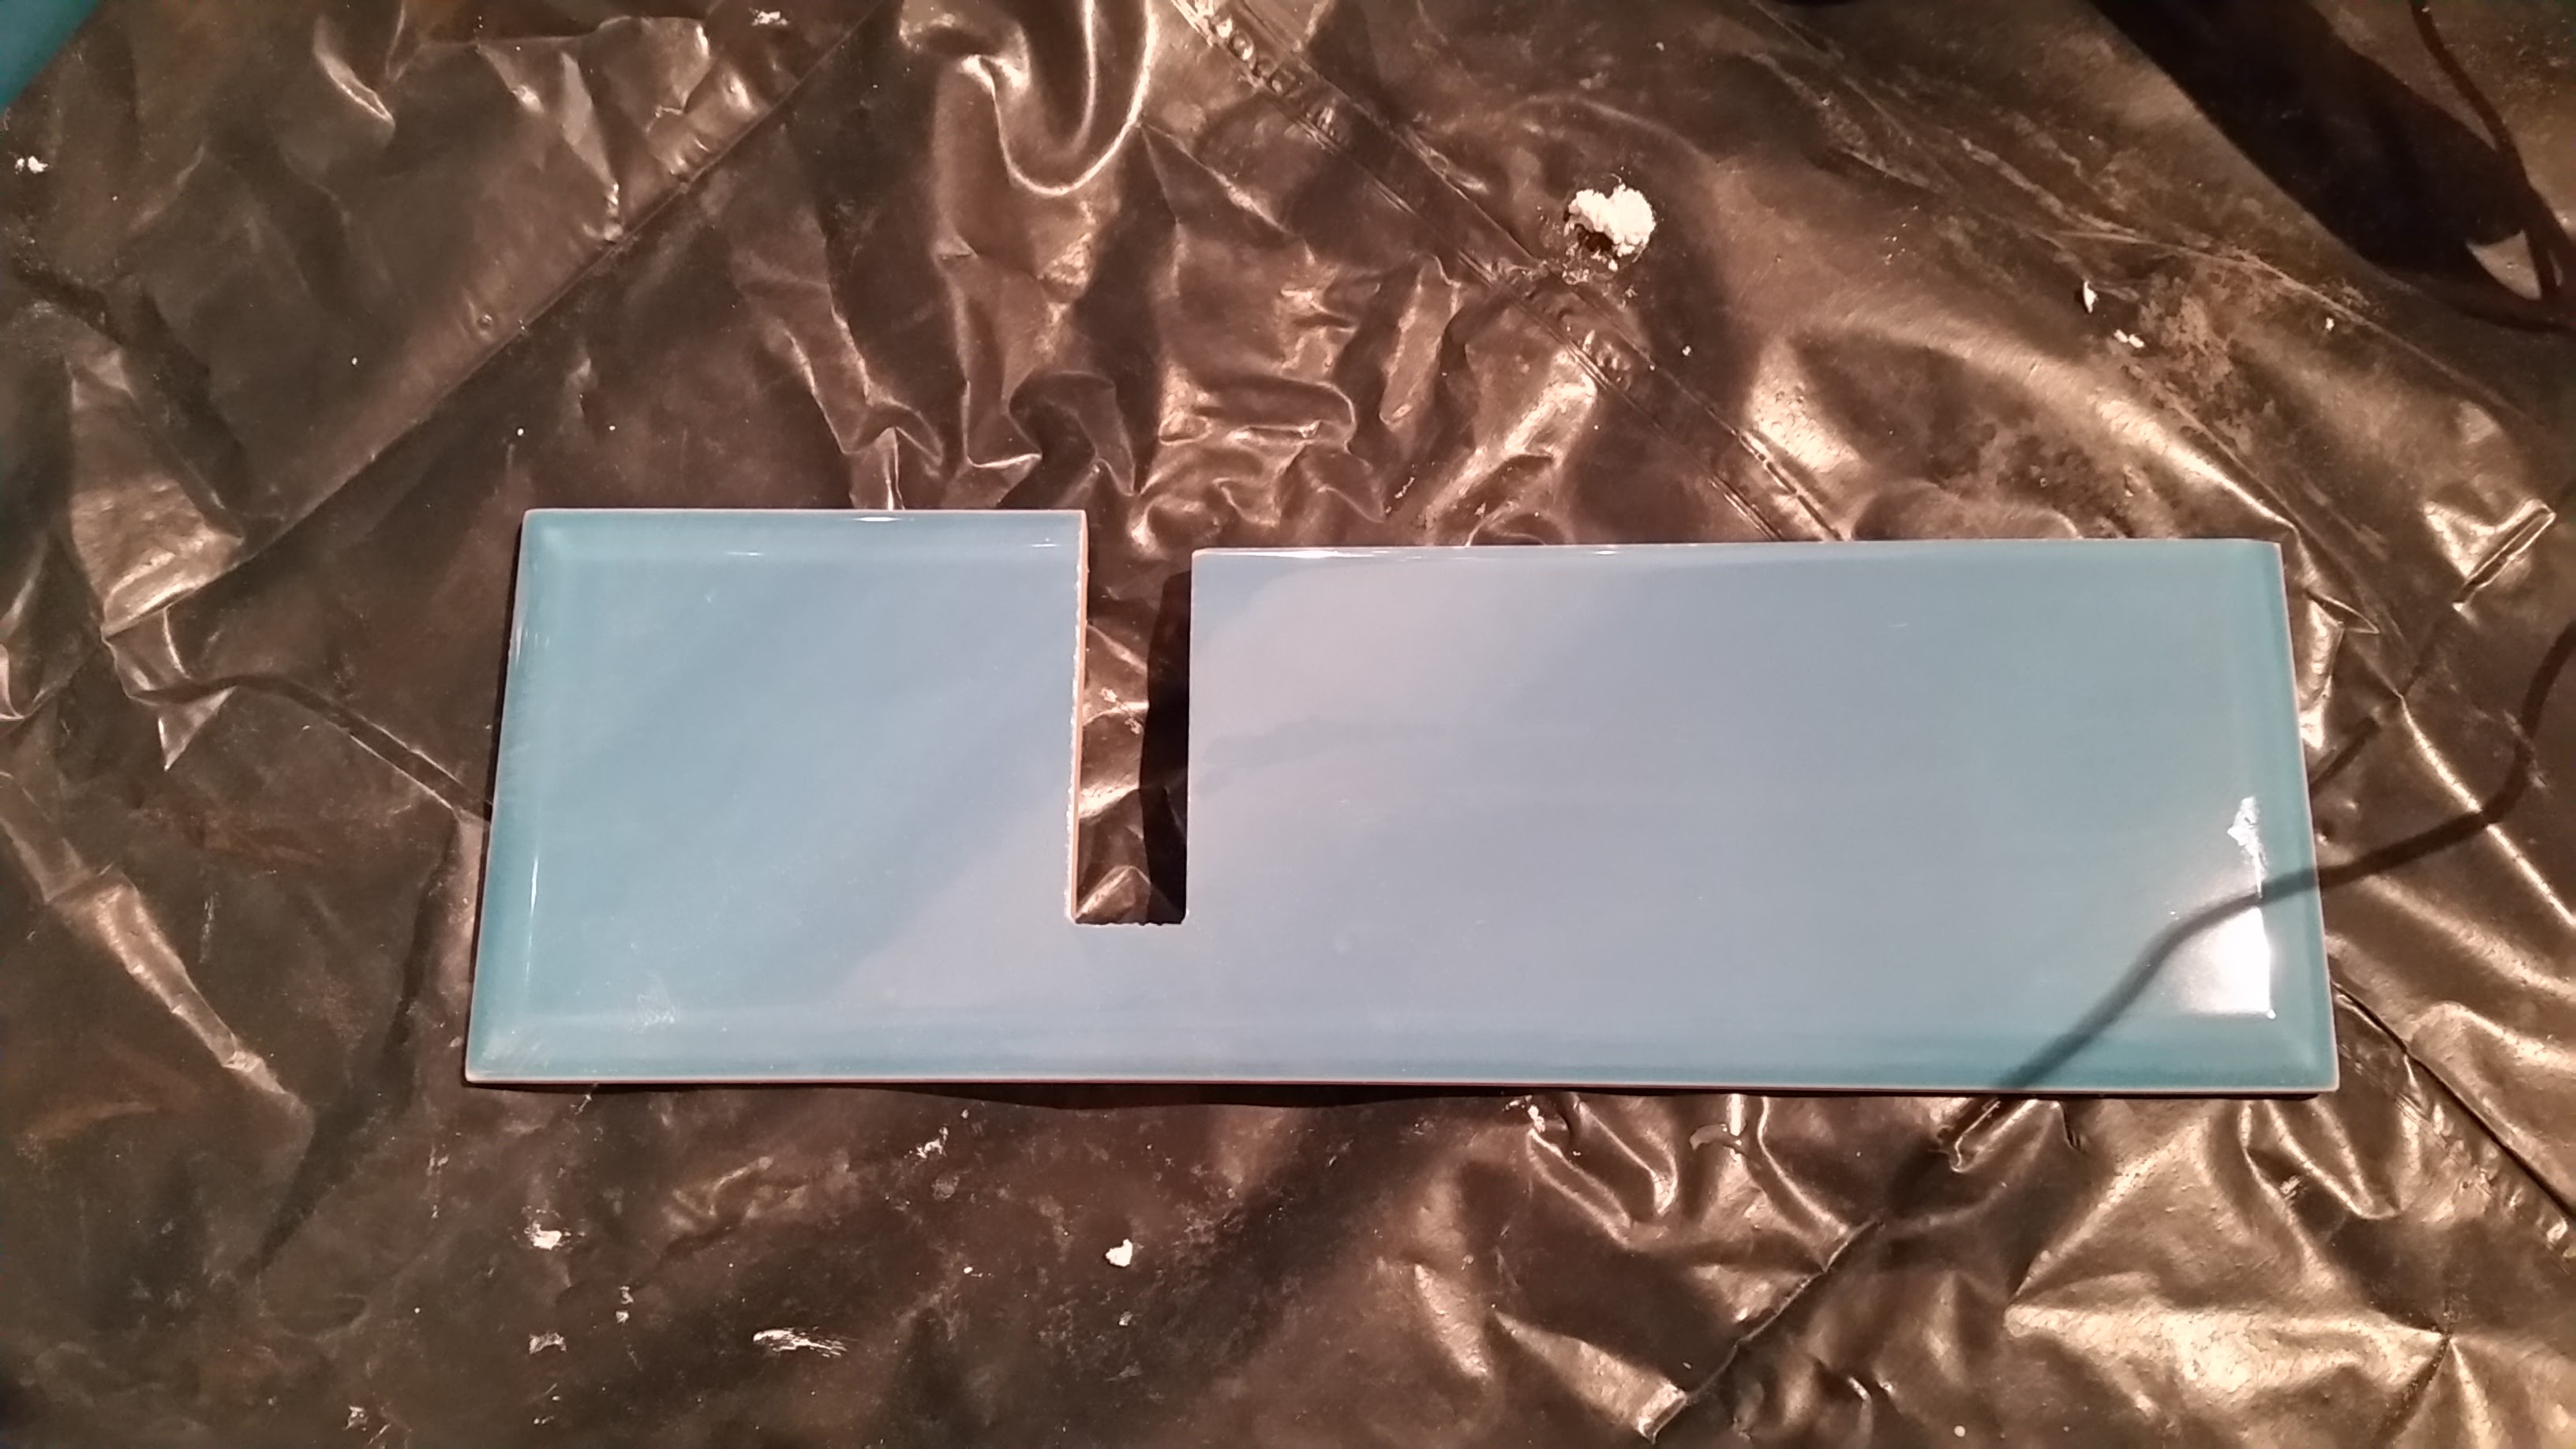
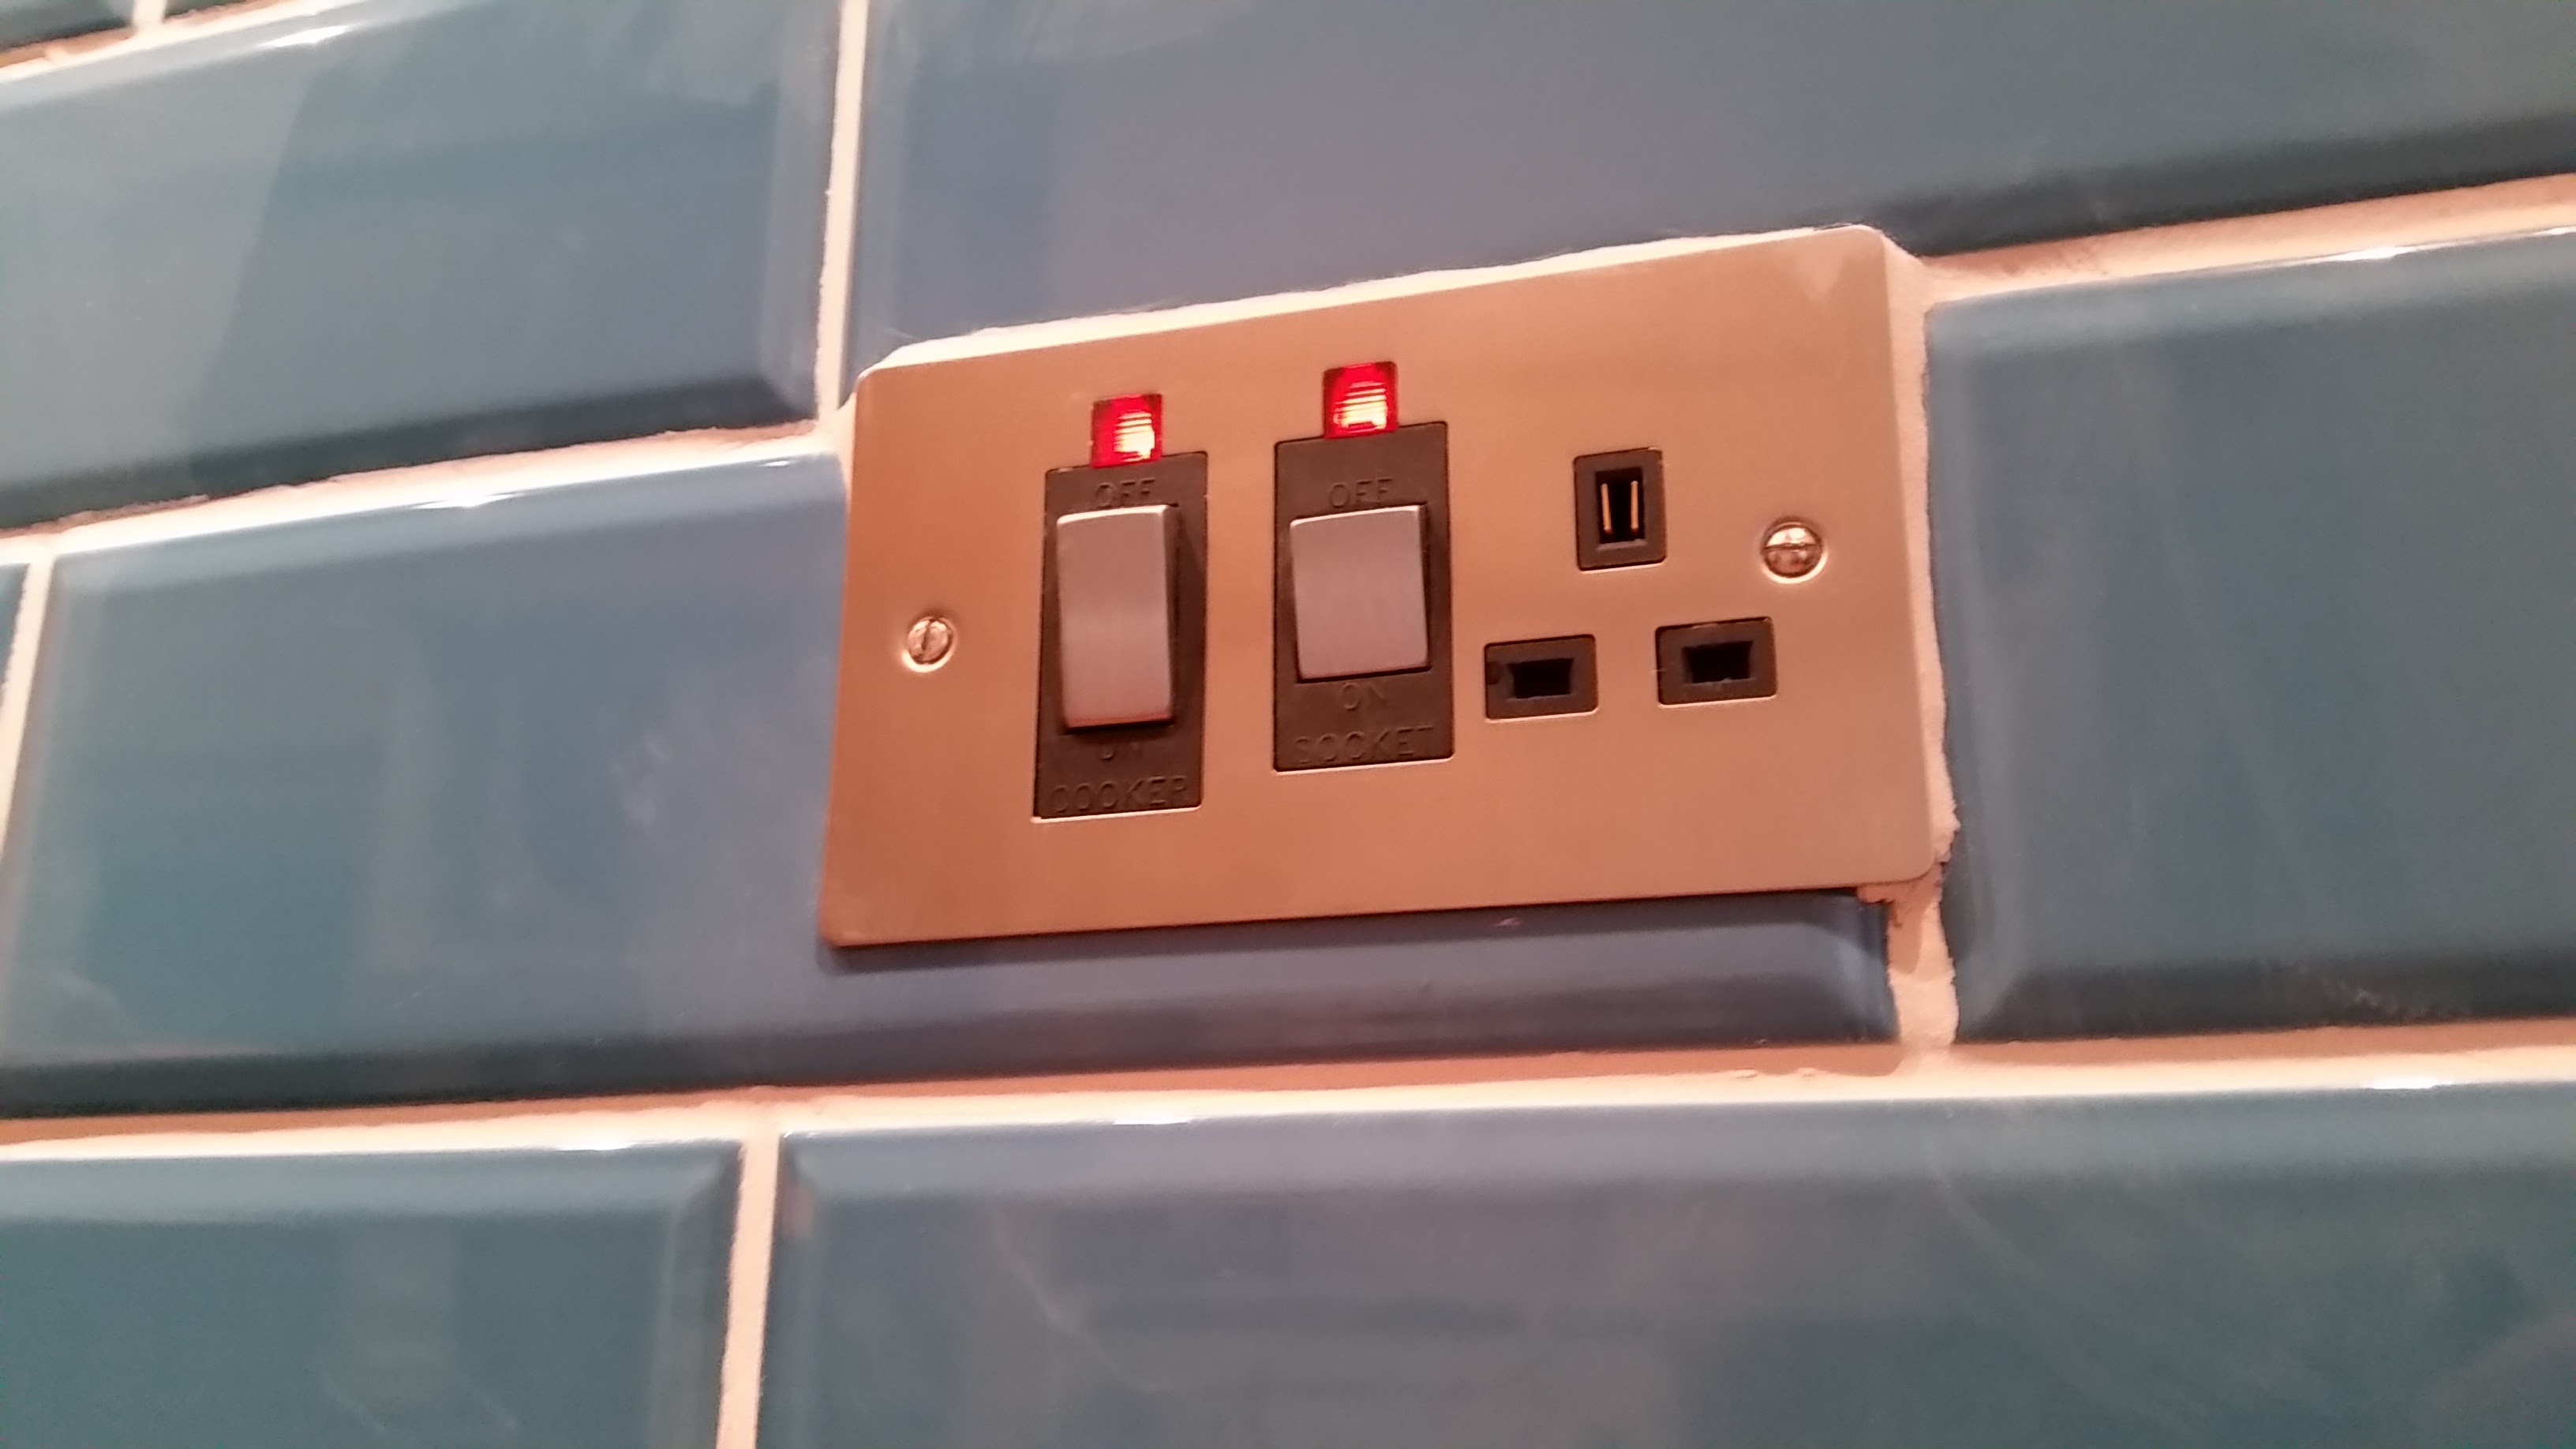
Cut tiles around socket
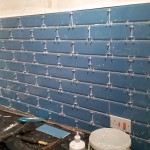
Brick effect
Tile Splashback under counter
Precision cut
After all the tiles are in place, spacers removed and the tiles given a good clean to remove adhesive residue, the tiles were grouted using Micromax2 white grout.
Grouting around precision cuts
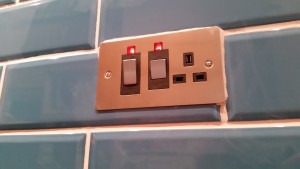
Grouting around new socket faceplate
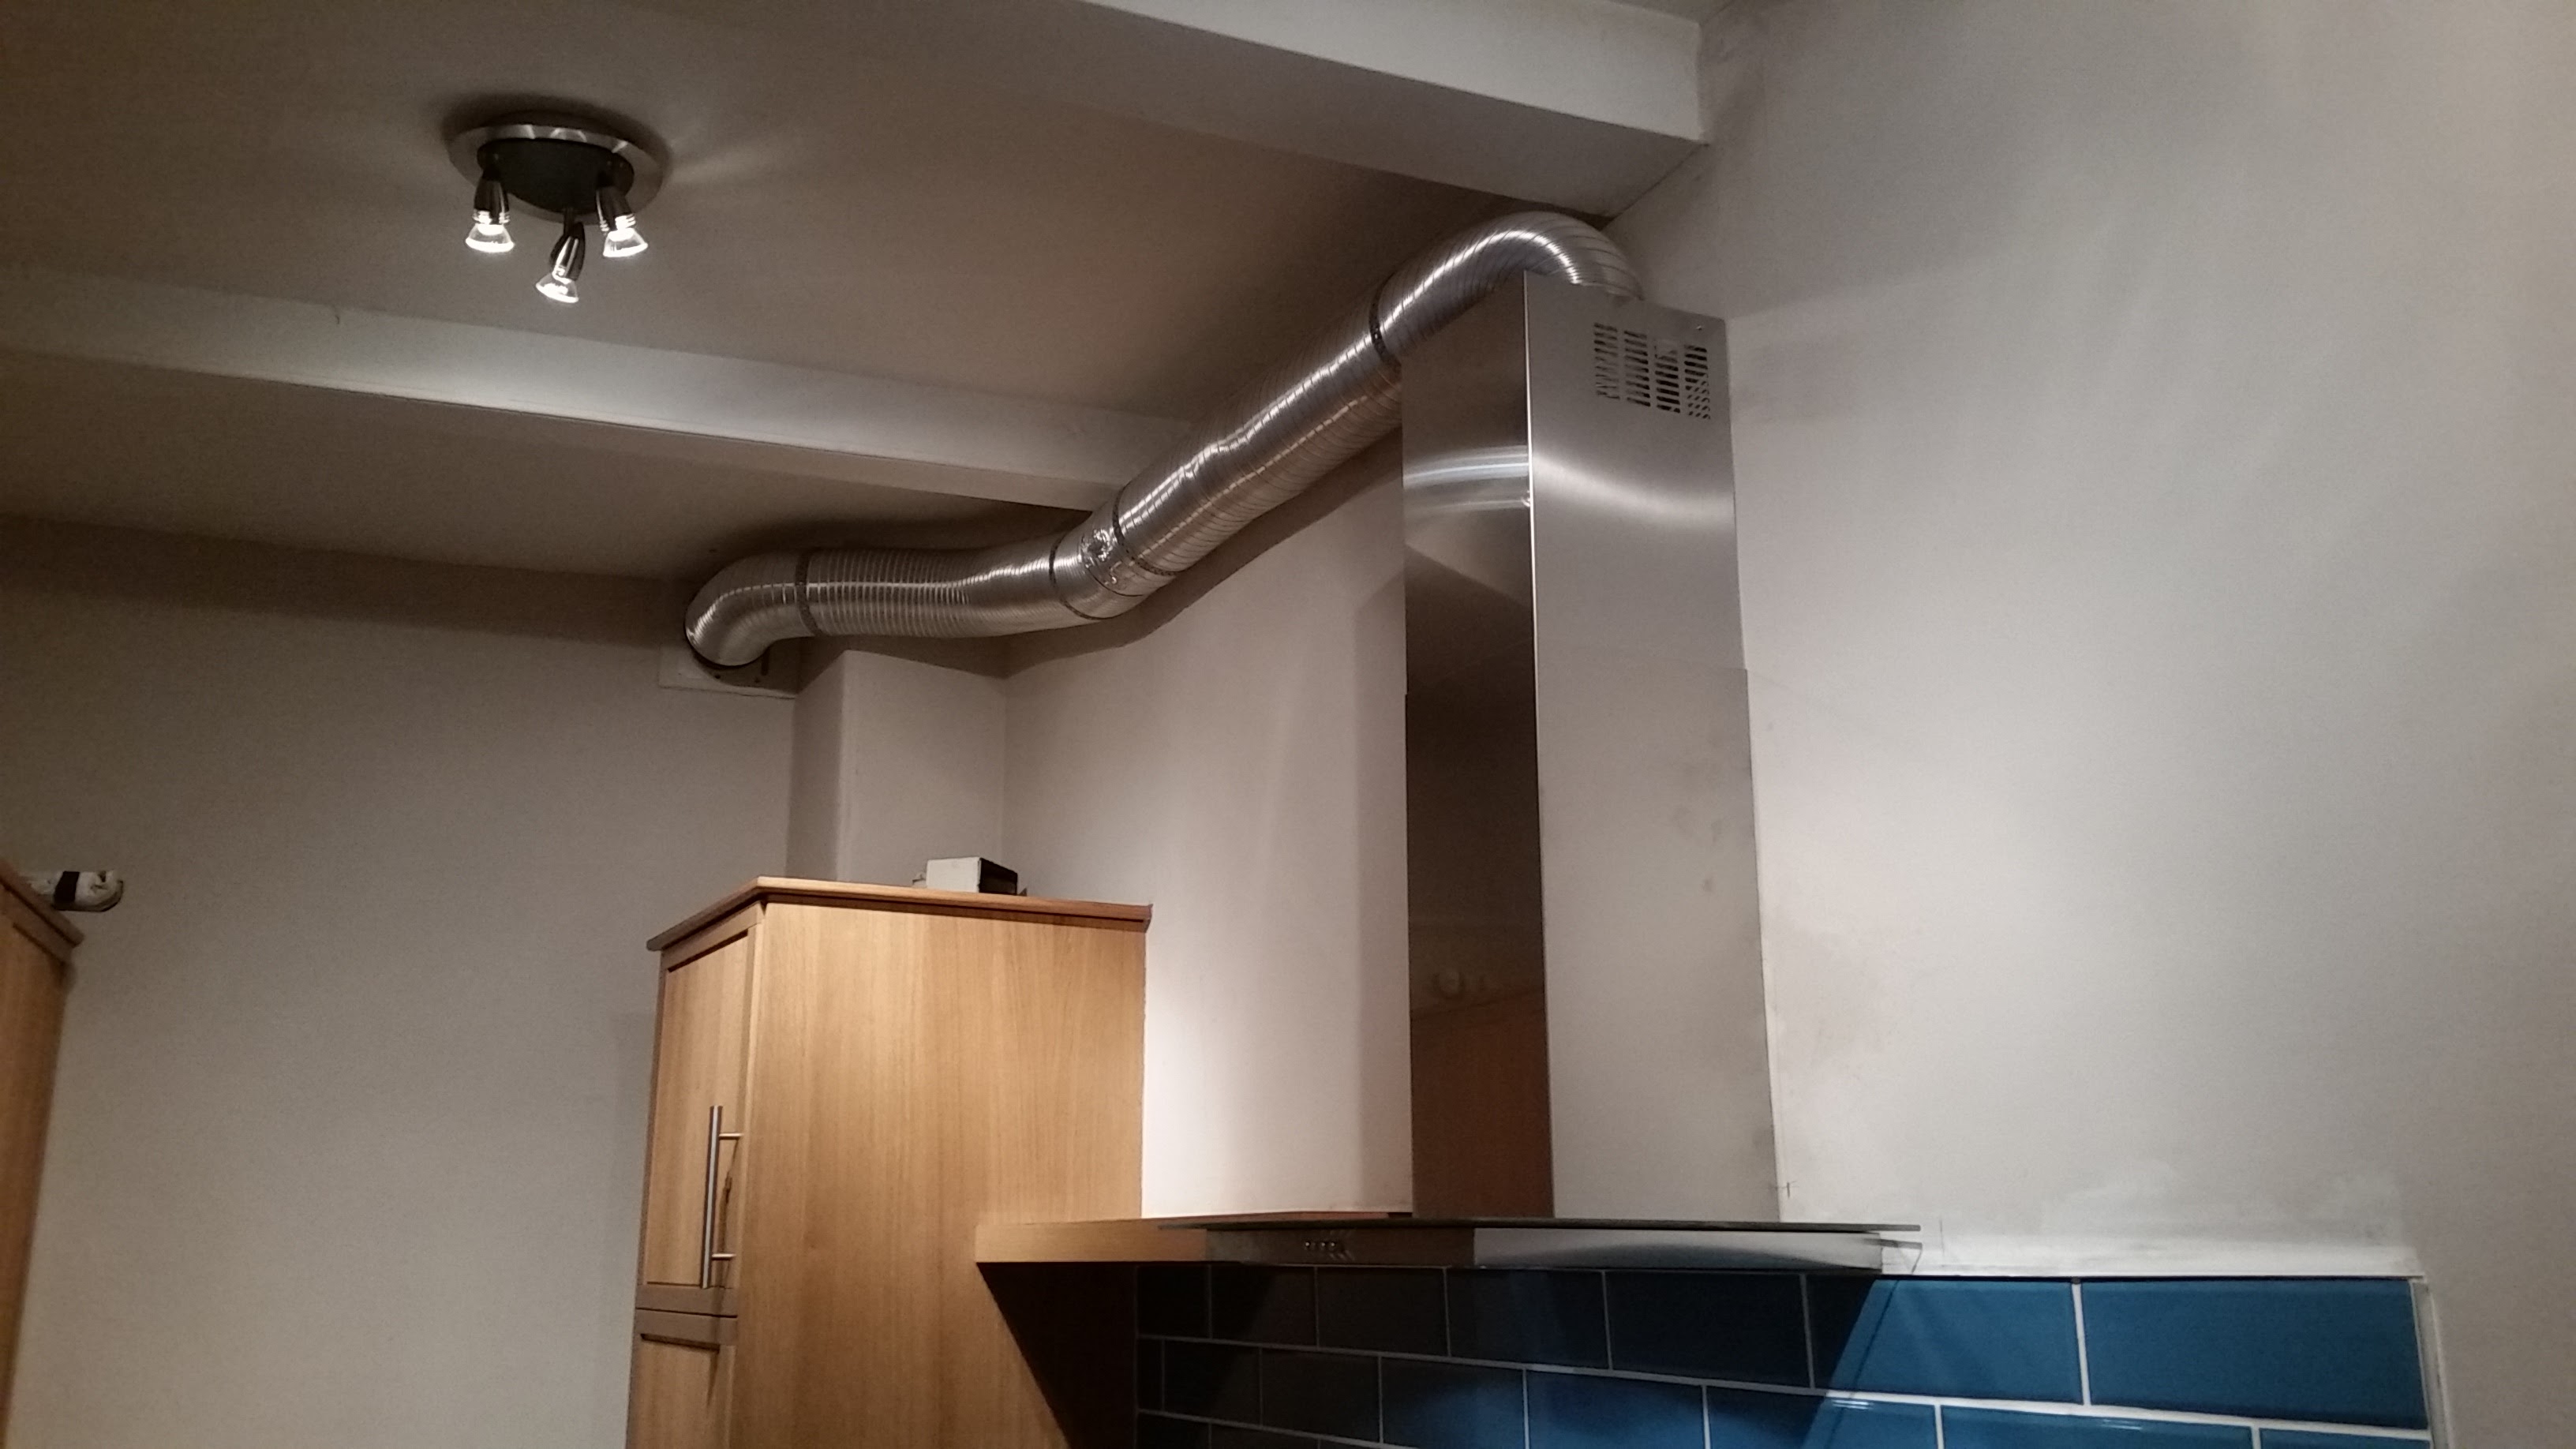
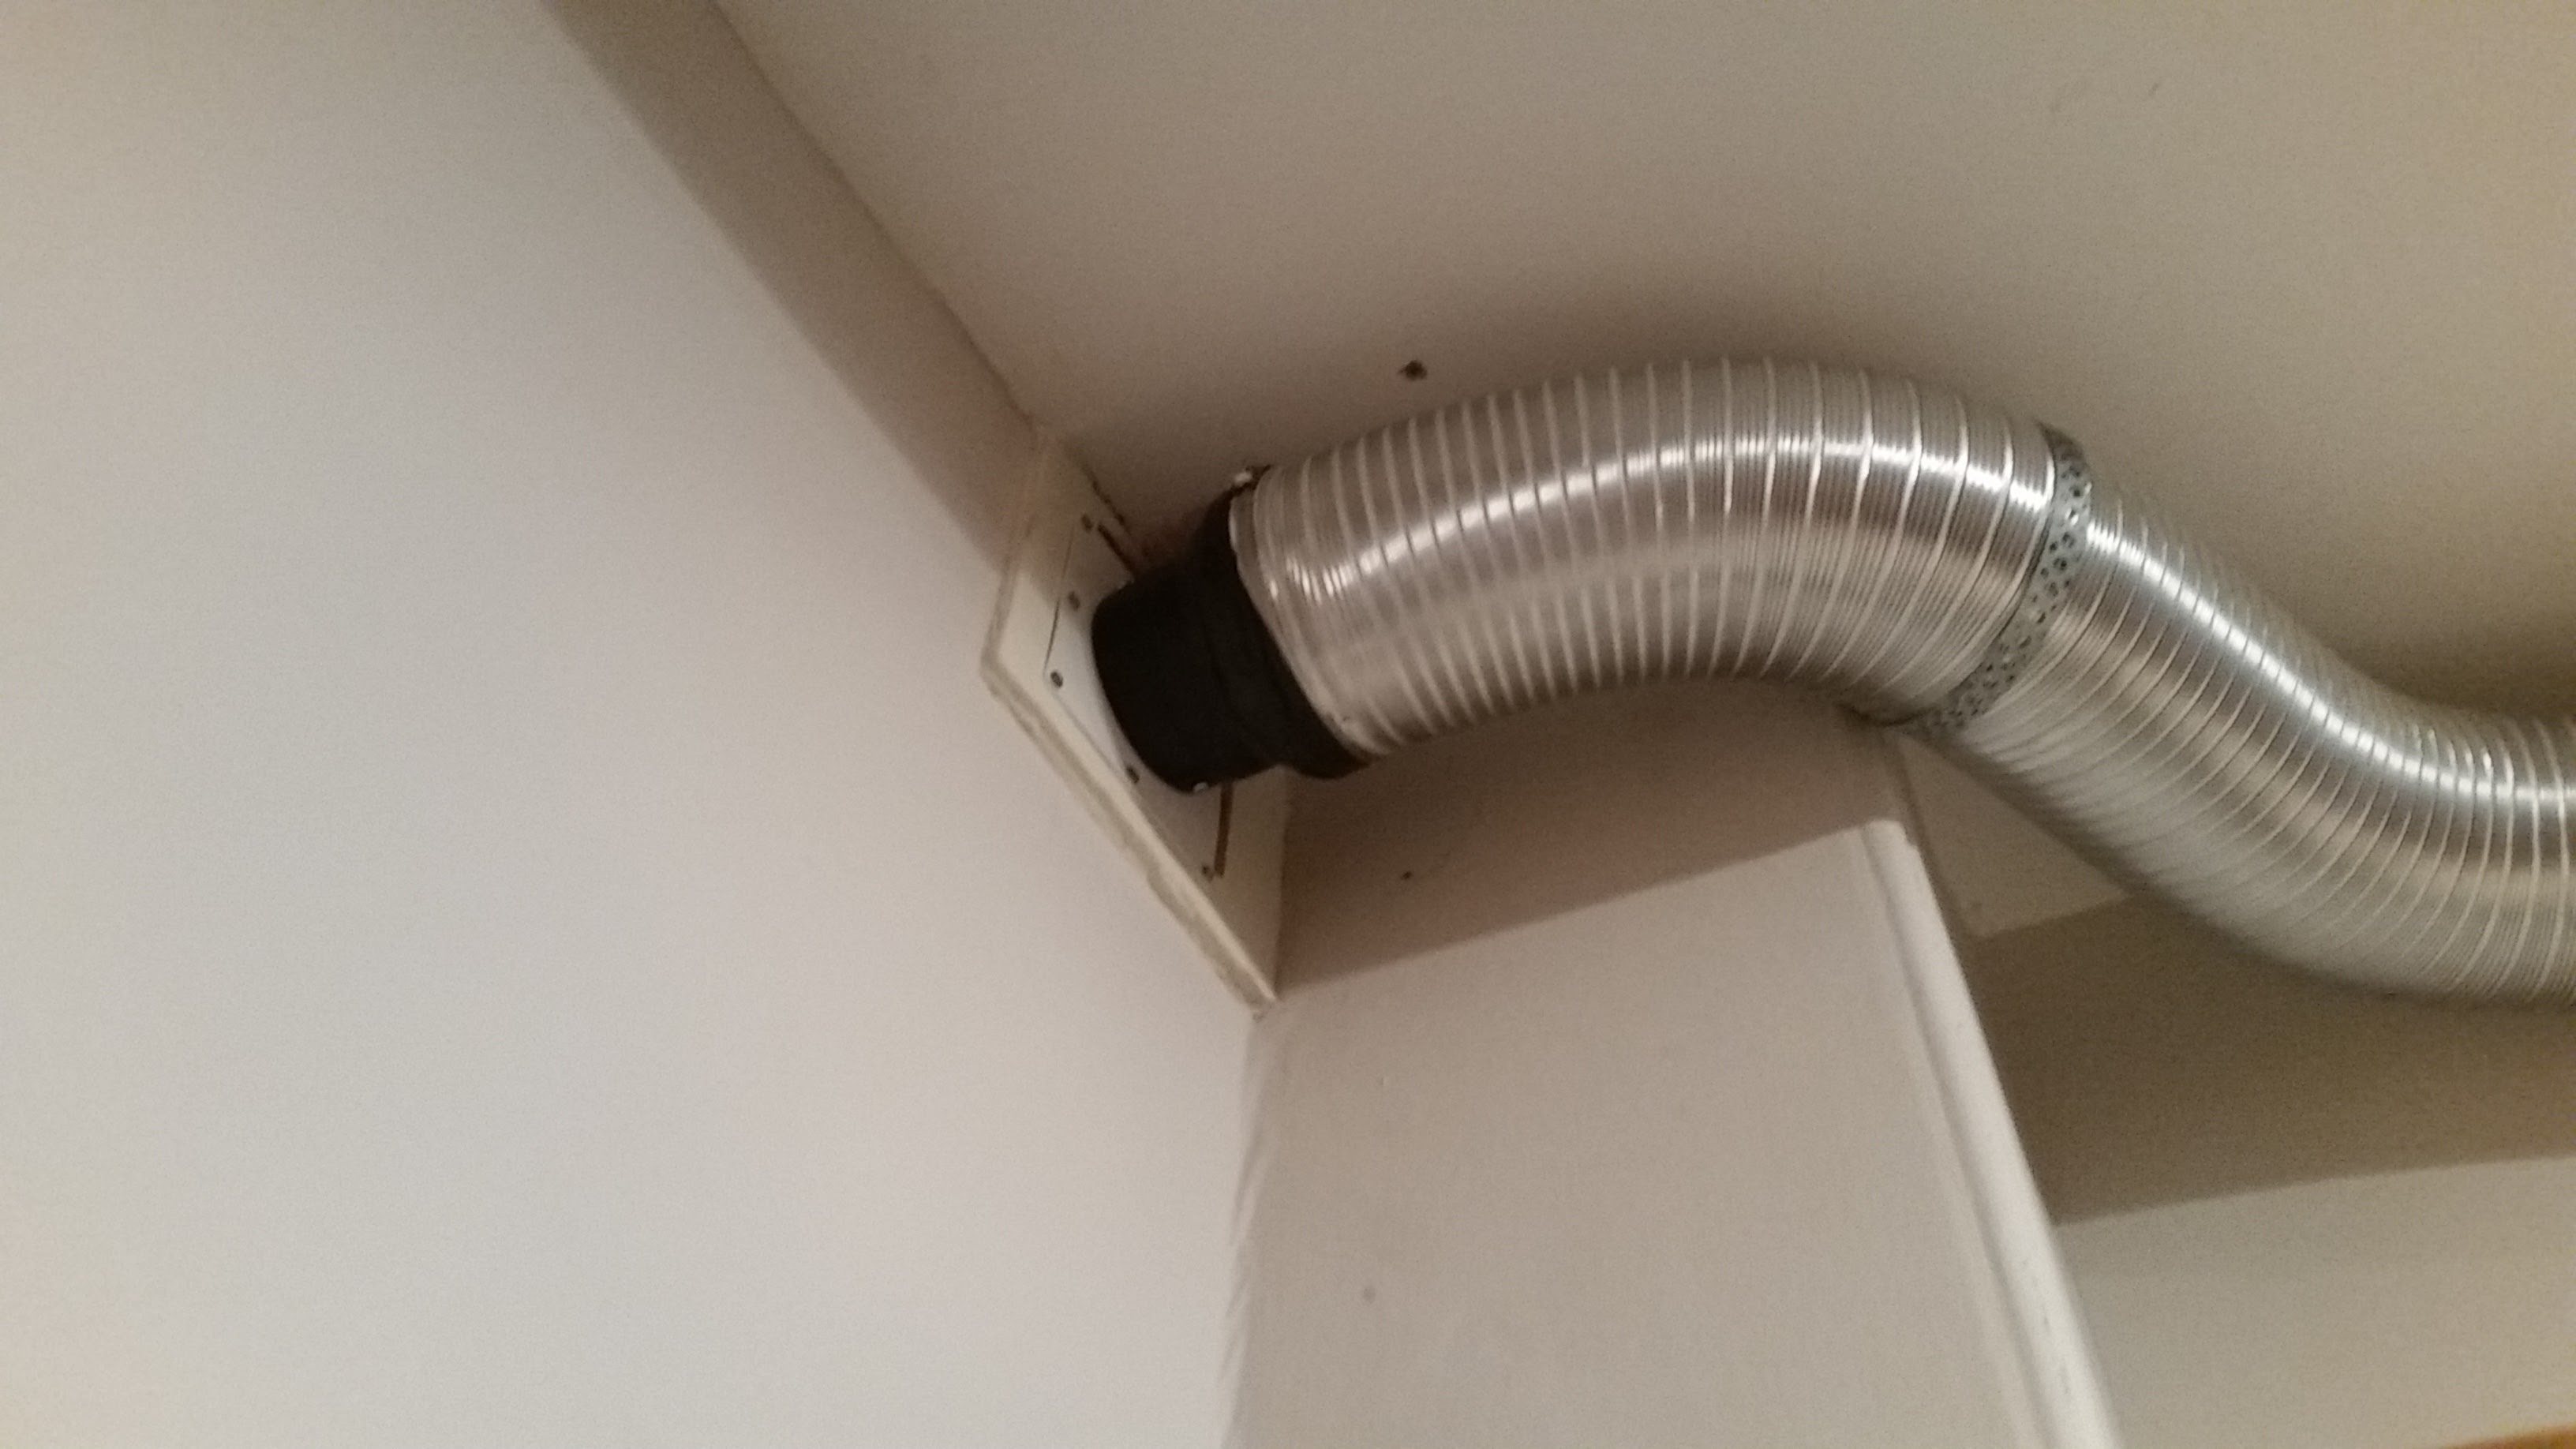
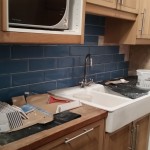
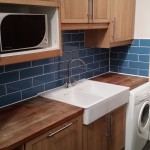
After grouting the cooker hood was fitted and some aluminium ducting installed to take all extractor air to existing vent where original extractor fan had been. The IKEA VINDIG fan which was installed has a very good fan power and the ducting had to be secured into place well to avoid any vibrations.
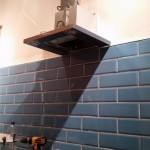
IKEA VINDIG Cooker hood
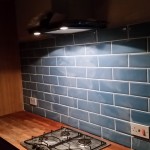
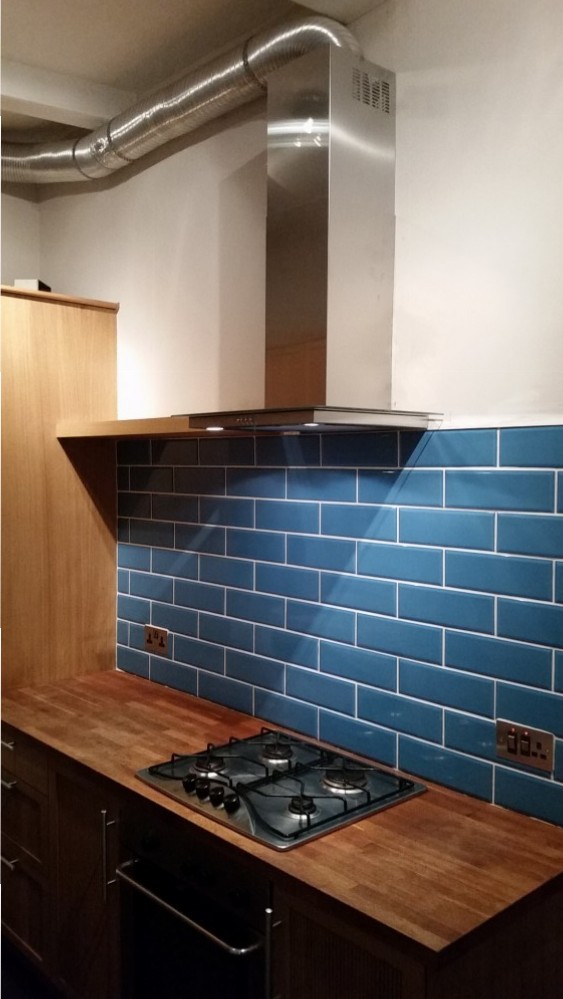
Blue Tile splashback below IKEA VINDIG Cooker hood
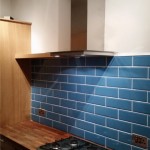
Fully fitted IKEA VINDIG extractor hood
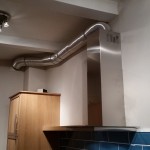
Ikea pipe extractor ducting
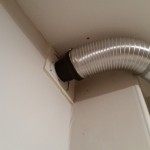
Ducting connected to exit point

Ducting secured to the wall
*Handy Hint. Getting the pipework to convert from 150mm down to 100mm diameter which was the existing hole size on the wall required a little bit of creativity. The reducer which comes with the IKEA VINDIG Hood does not quite go all the way to 100 mm but using the rubber seal from a Pan waste pipe connector over a 100mm jointing coupling it was possible to get a really good seal between the two.
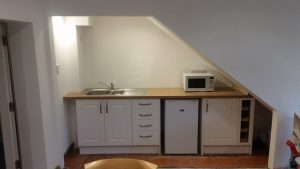
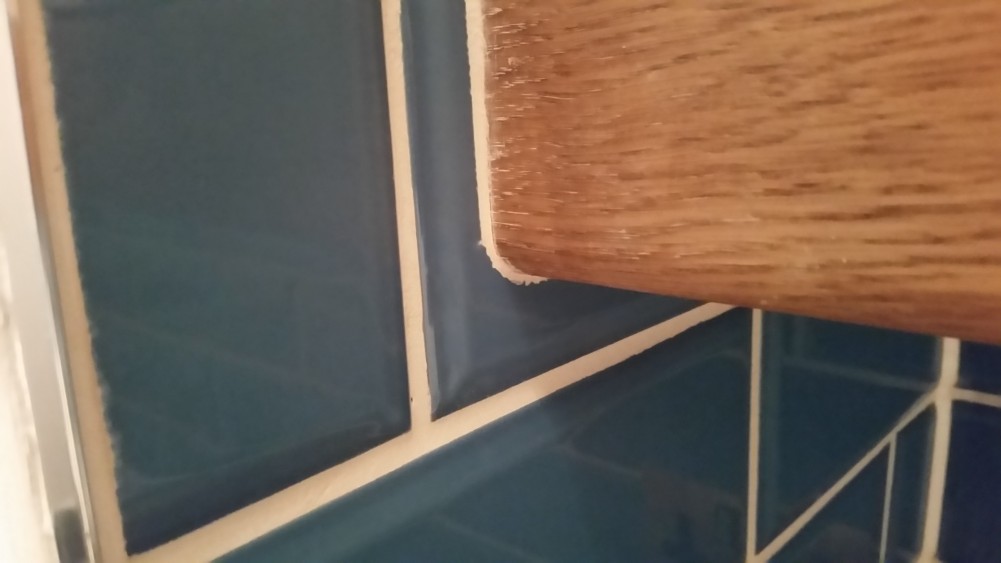
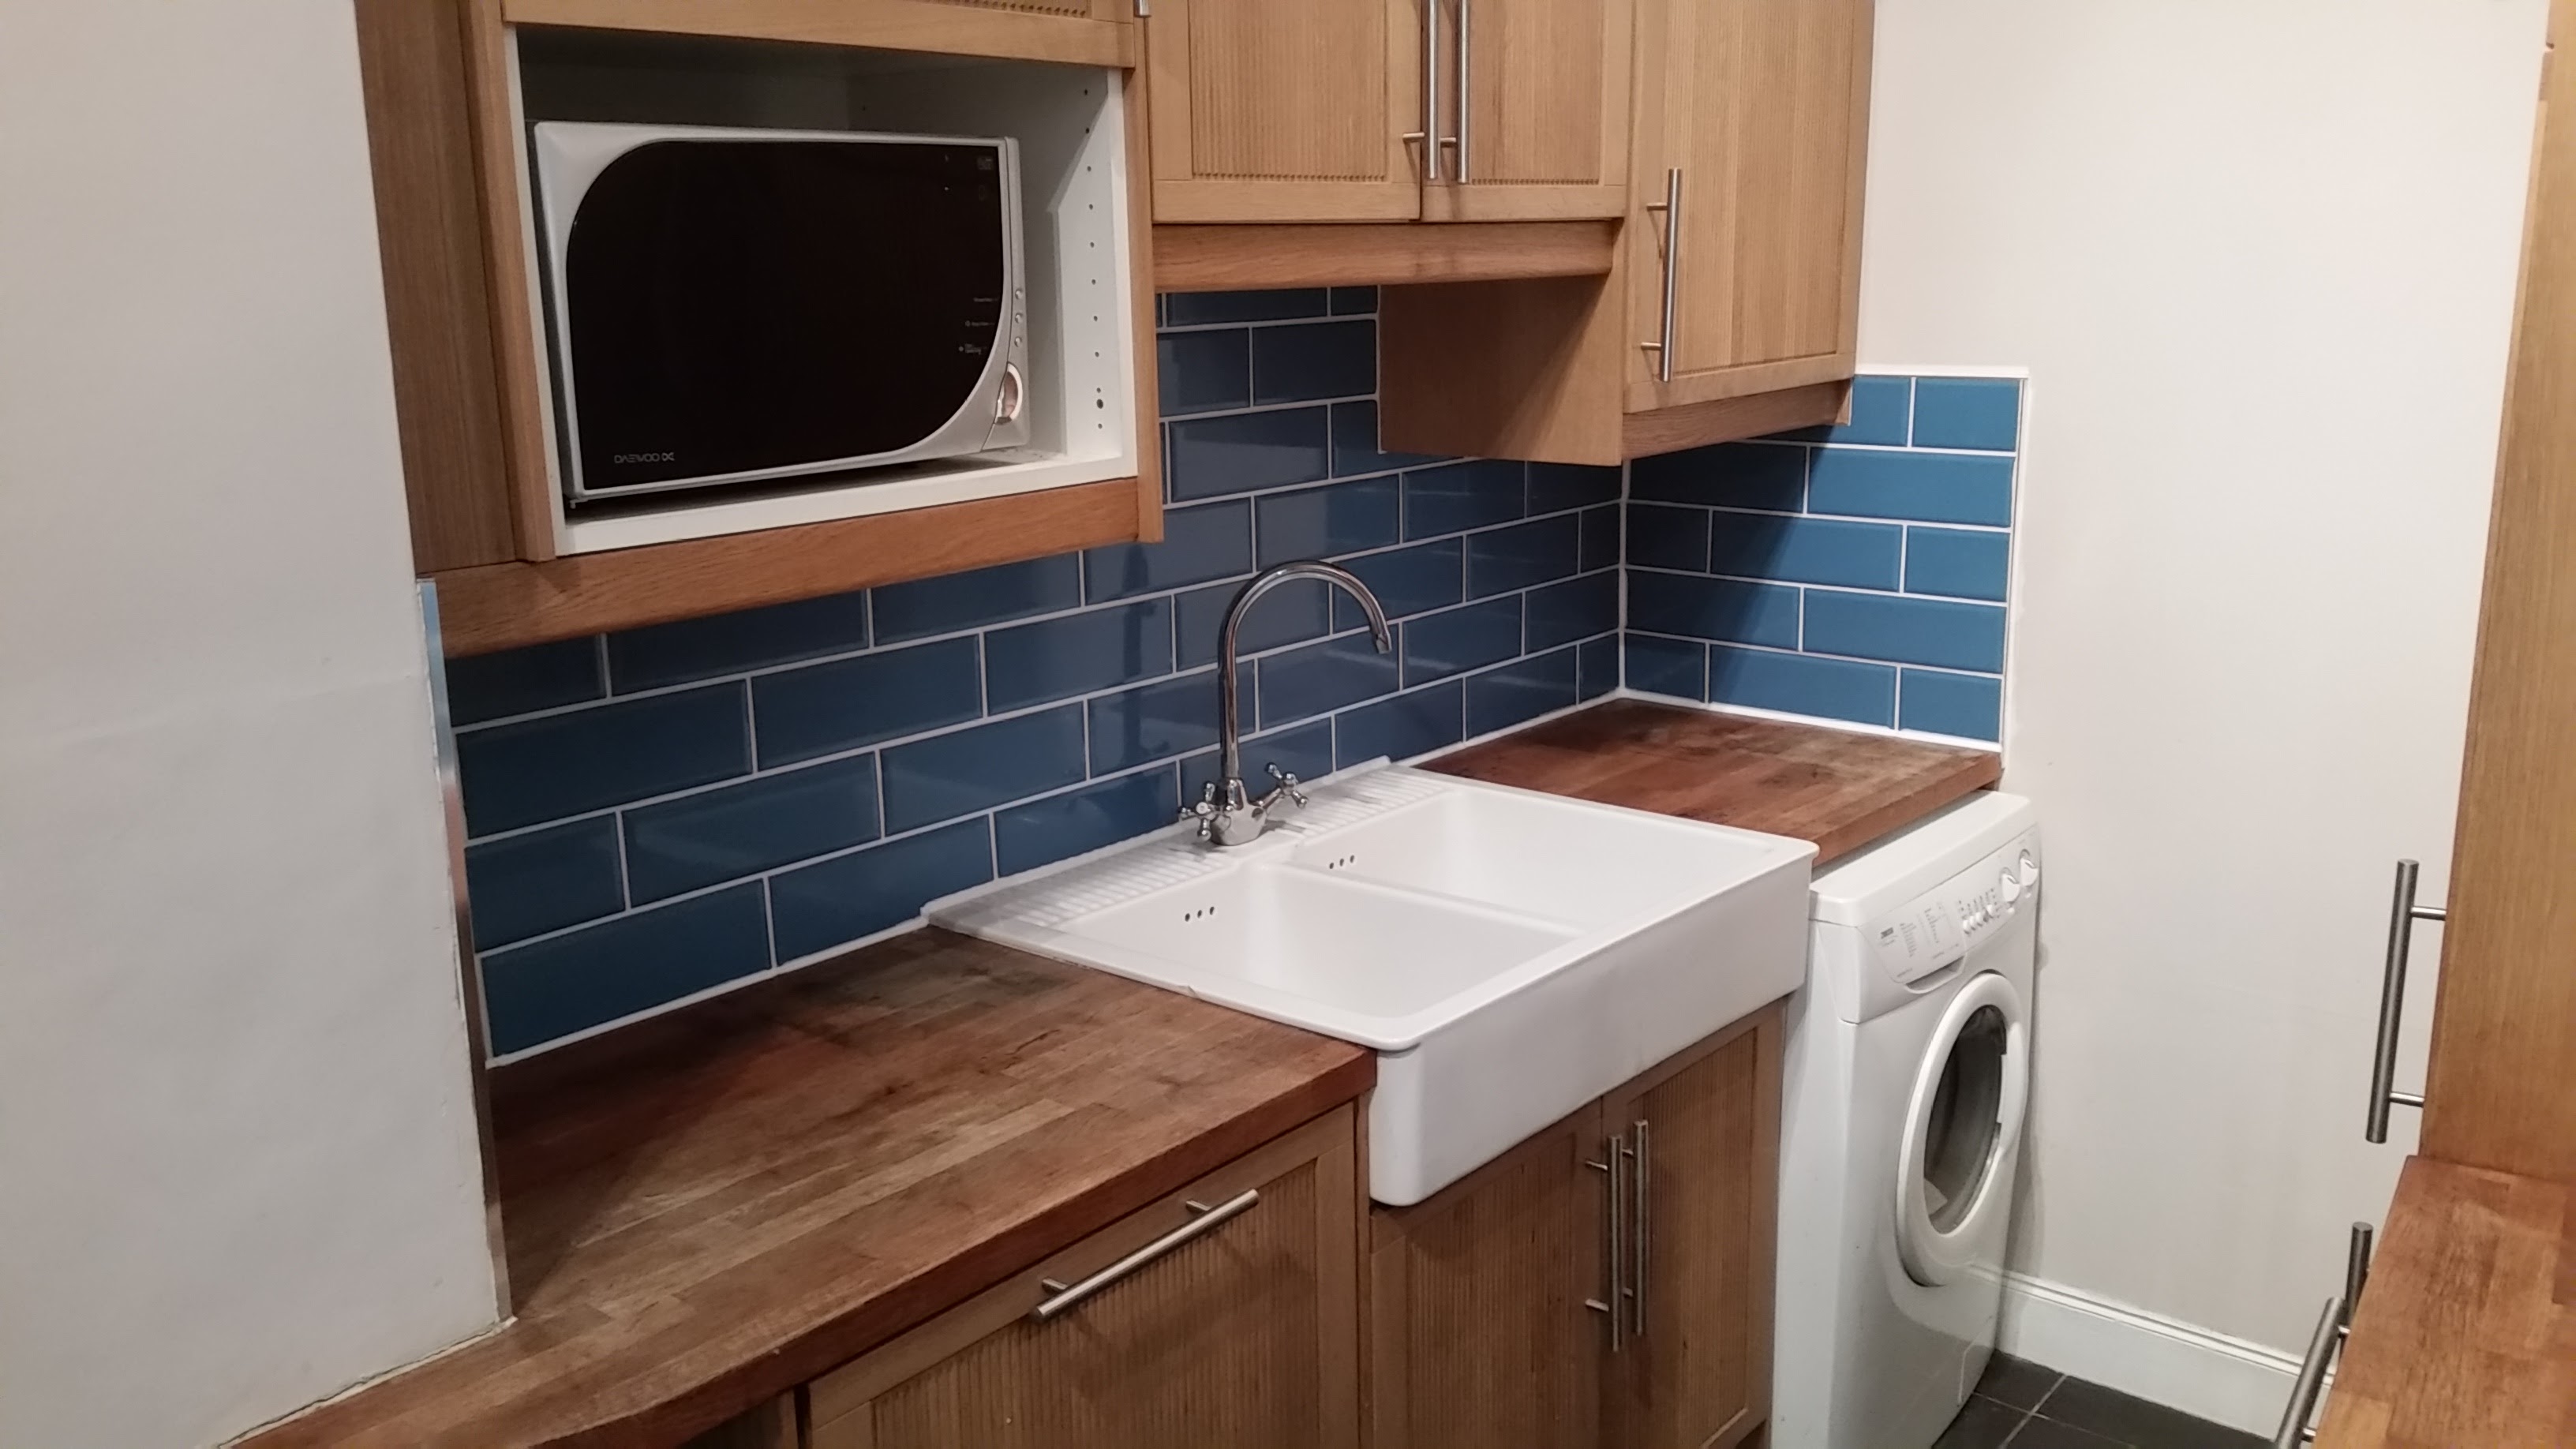
To finish off the tiles the join between tiles and worksurface was siliconed to give a clean wipeable seal. Job Done, with a happy customer.
Finished kitchen
Finished tiles with White Silicone
Siliconed edges
“Kitchen is brilliant sir,
can’t thank you enough
for your efforts. Tip top!”
Graeme