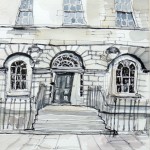
Handy David – Edinburgh Handyman services recently completed the repair and decoration of a garage door and wooden plinth.
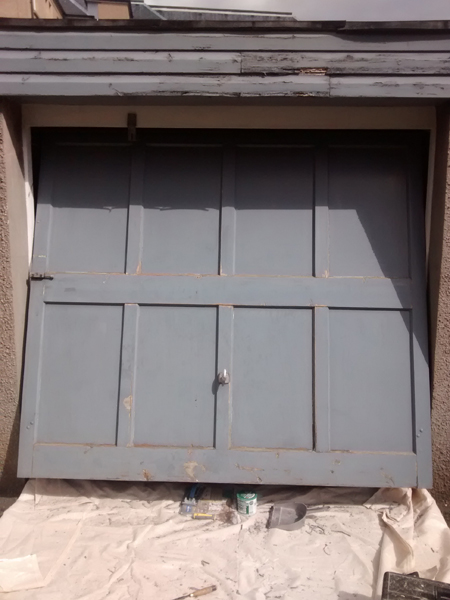
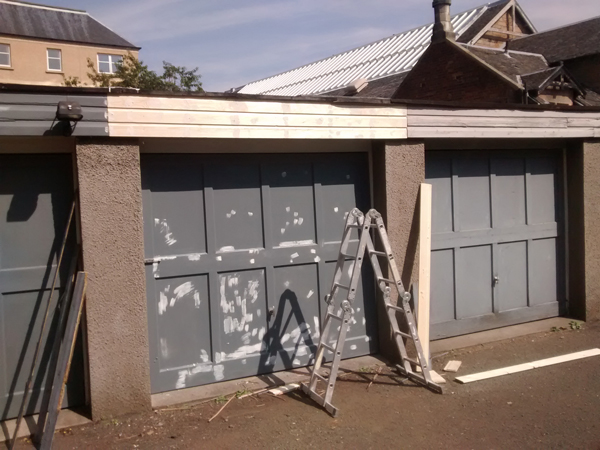
Garage door needing Repaired
Garage door profile before repairs
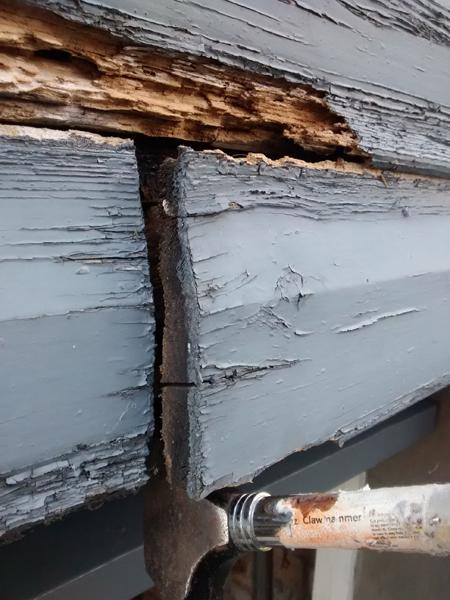
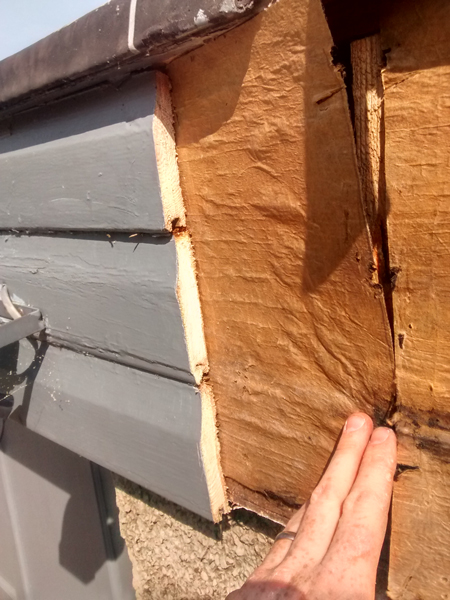
Rotten Weatherboard
This task was a mixture of joinery work and decorating services. The garage door, looked a little sorry for itself and the weatherboard plinth above was rotten quite badly in several places. This section was not worth the effort to try and repair, instead removing and replacing the weatherboard would be the best option. The Door was superficially rotten with only a couple of areas which required a bit more than just TLC.
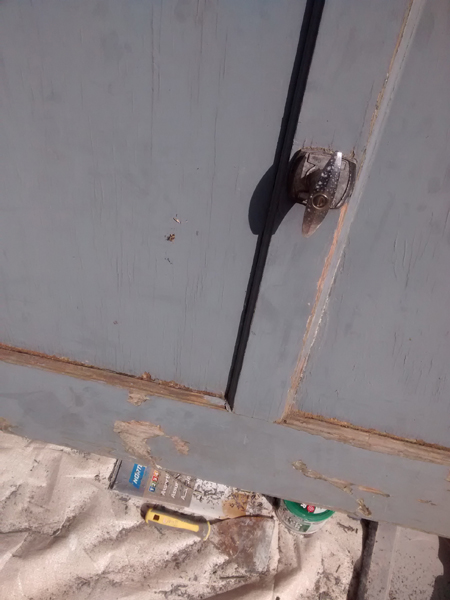
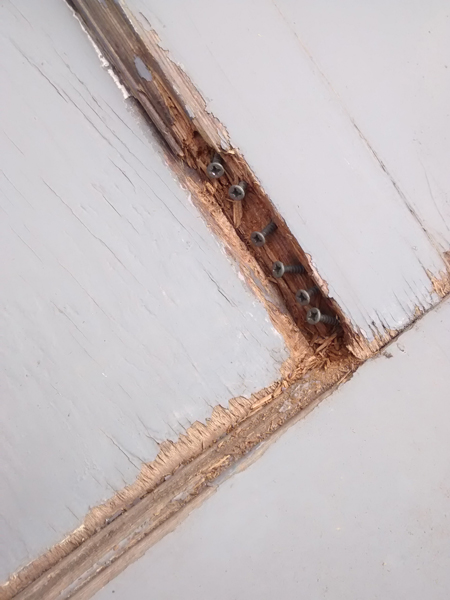
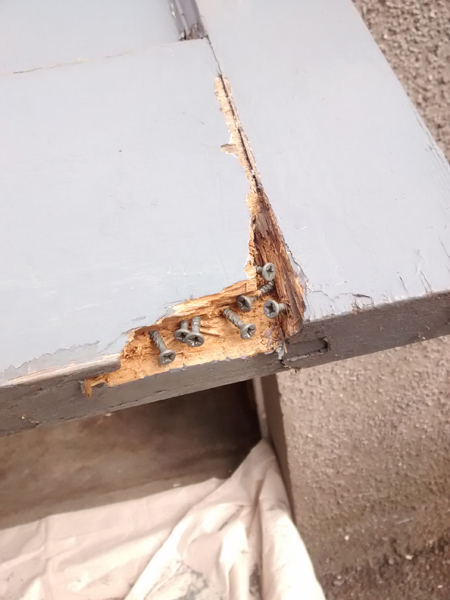
The first step was to sand back the door and scrape away all the loose flaking paintwork and removing rotten wood. The deeper holes were filled with screws to give the repair strength, all cracks and small holes were filled and sanded. One section of woodwork with rotten wood being removed was a moulded section, and this was sanded back into the original profile as well as possible.
Damaged profile Section
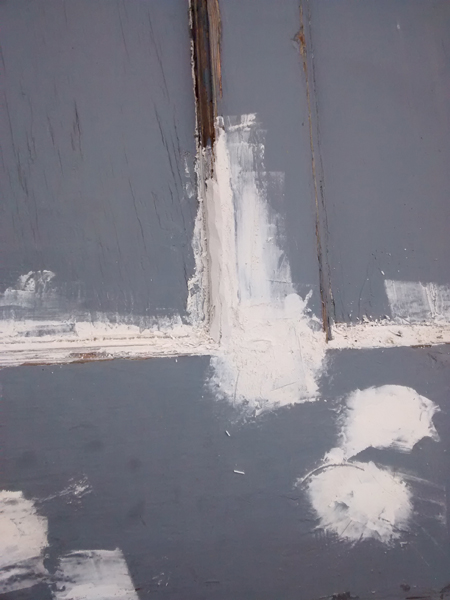
Repaired Profile Section before sanding
Rotten section with screws to bond repair

Repair to rotten corner
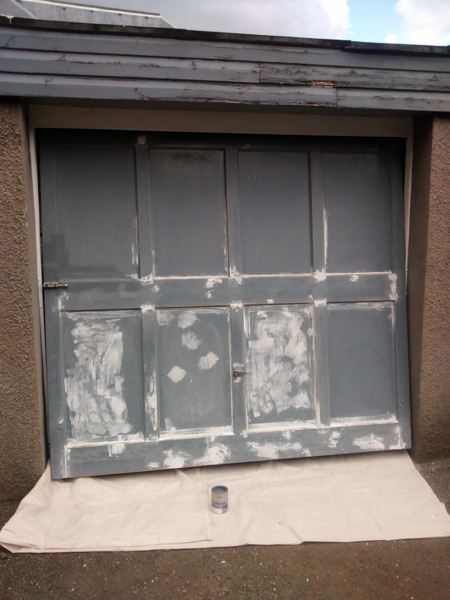
Garage door filled and sanded

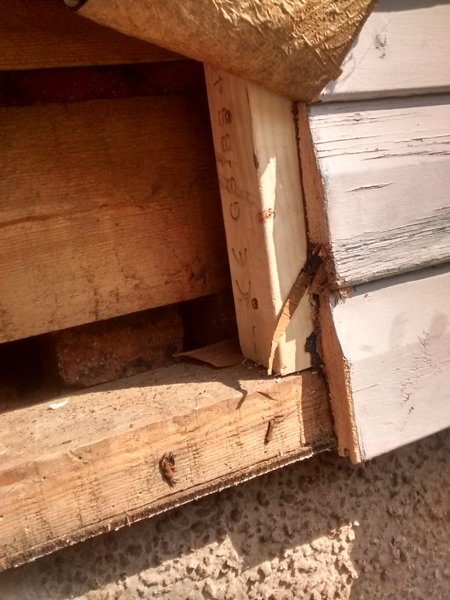
Section with rotten weatherboard removed
Once the door was sanded the first coat of paint was applied, this helped to highlight any remaining indents or rough areas which would require more sanding or filling.
For the section above the garage door the existing rotten woodwork, which spans beyond this garage to the neighbouring ones, required to be carefully sawn and chiseled to allow it to be removed with no damage to the neighbours woodwork.

Removed Weatherboard RHS
Removed Weatherboard LHS
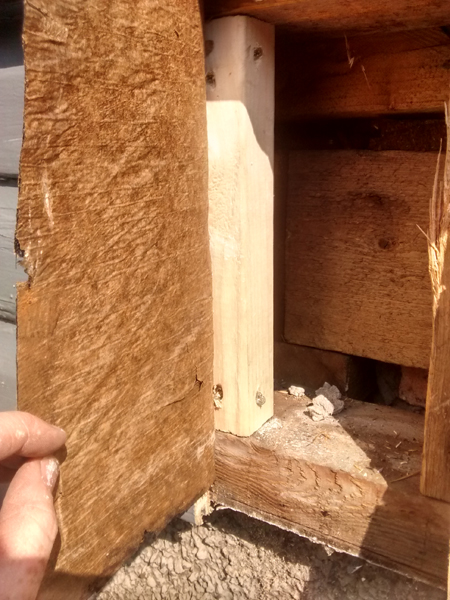
Wooden brace behind Joint LHS
Wooden brace behind Joint RHS
After removing the weatherboard Handy David – Edinburgh Handyman services had to install a brace of wood on the left and right hand sides to support the new joint. The new weatherboard was then cut to size and screwed into place with external screws. All screw-heads were countersunk and filled. The joints with the neighbouring garaged were now a weak-point and required to be sealed. A flexible and paintable exterior sealant/adhesive was used and the cover straps were screwed in place, with the screws again being countersunk and filled.
New weatherboard installed
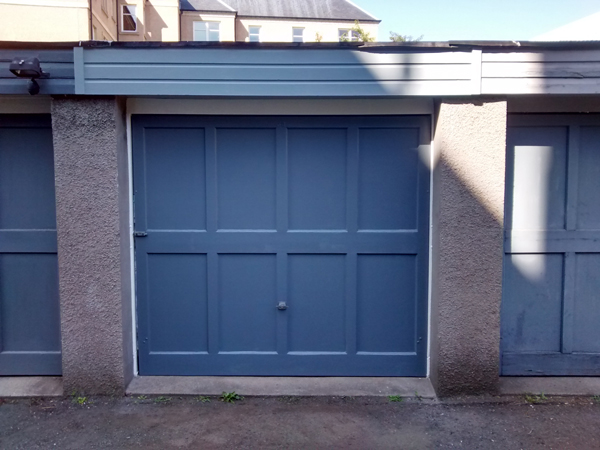
Finished Garage door
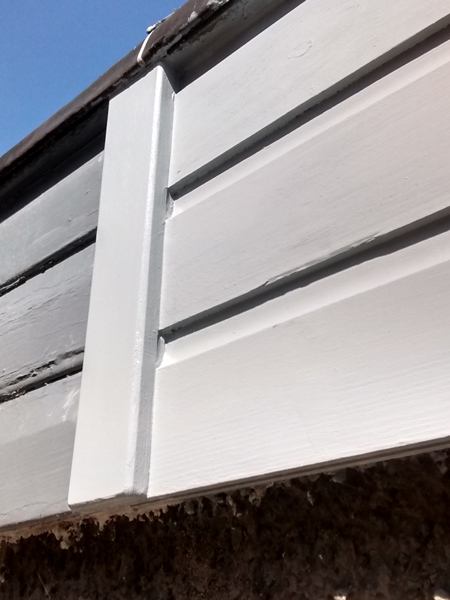
Sealed Joints
The woodwork then all received 3 coats of Butinox 3
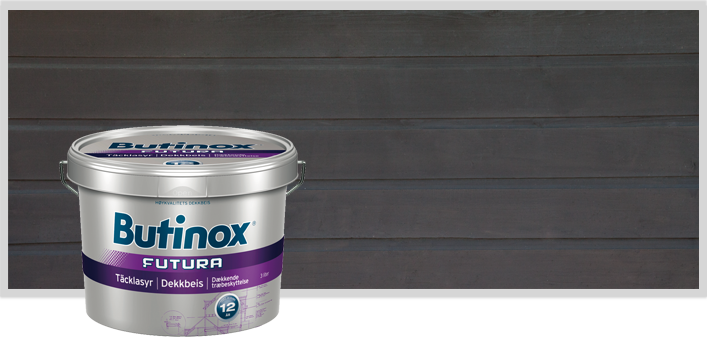
Butinox 3 – Opaque satin. The special alkyd oil/acrylic binder combination provides a highly flexible coating allowing the natural movements expansion and contraction of the wood. Life span up to 12 years
“The paint job and replaced wood lintel look excellent!
Thanks for the great job. Really happy with it.”