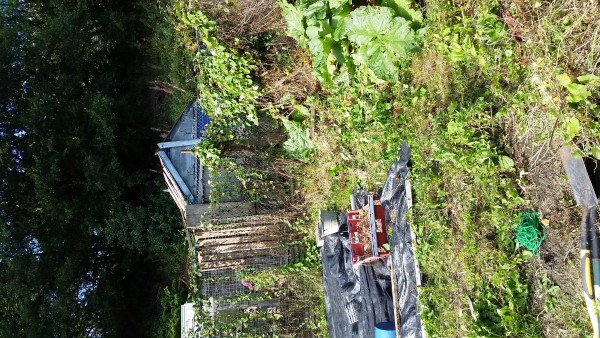
Allotment Plot – Before
When getting a new Shed you are best to get a good solid surface to build it on. Having a good solid surface of paving slabs will help prolong the life of your shed.
Handy David – Edinburgh Handyman Services was asked to clear a section of an allotment to facilitate a base for a new shed.
The ground to be used was reasonably covered in weeds but was nice and compacted and firm underneath.

Cleared area for shed
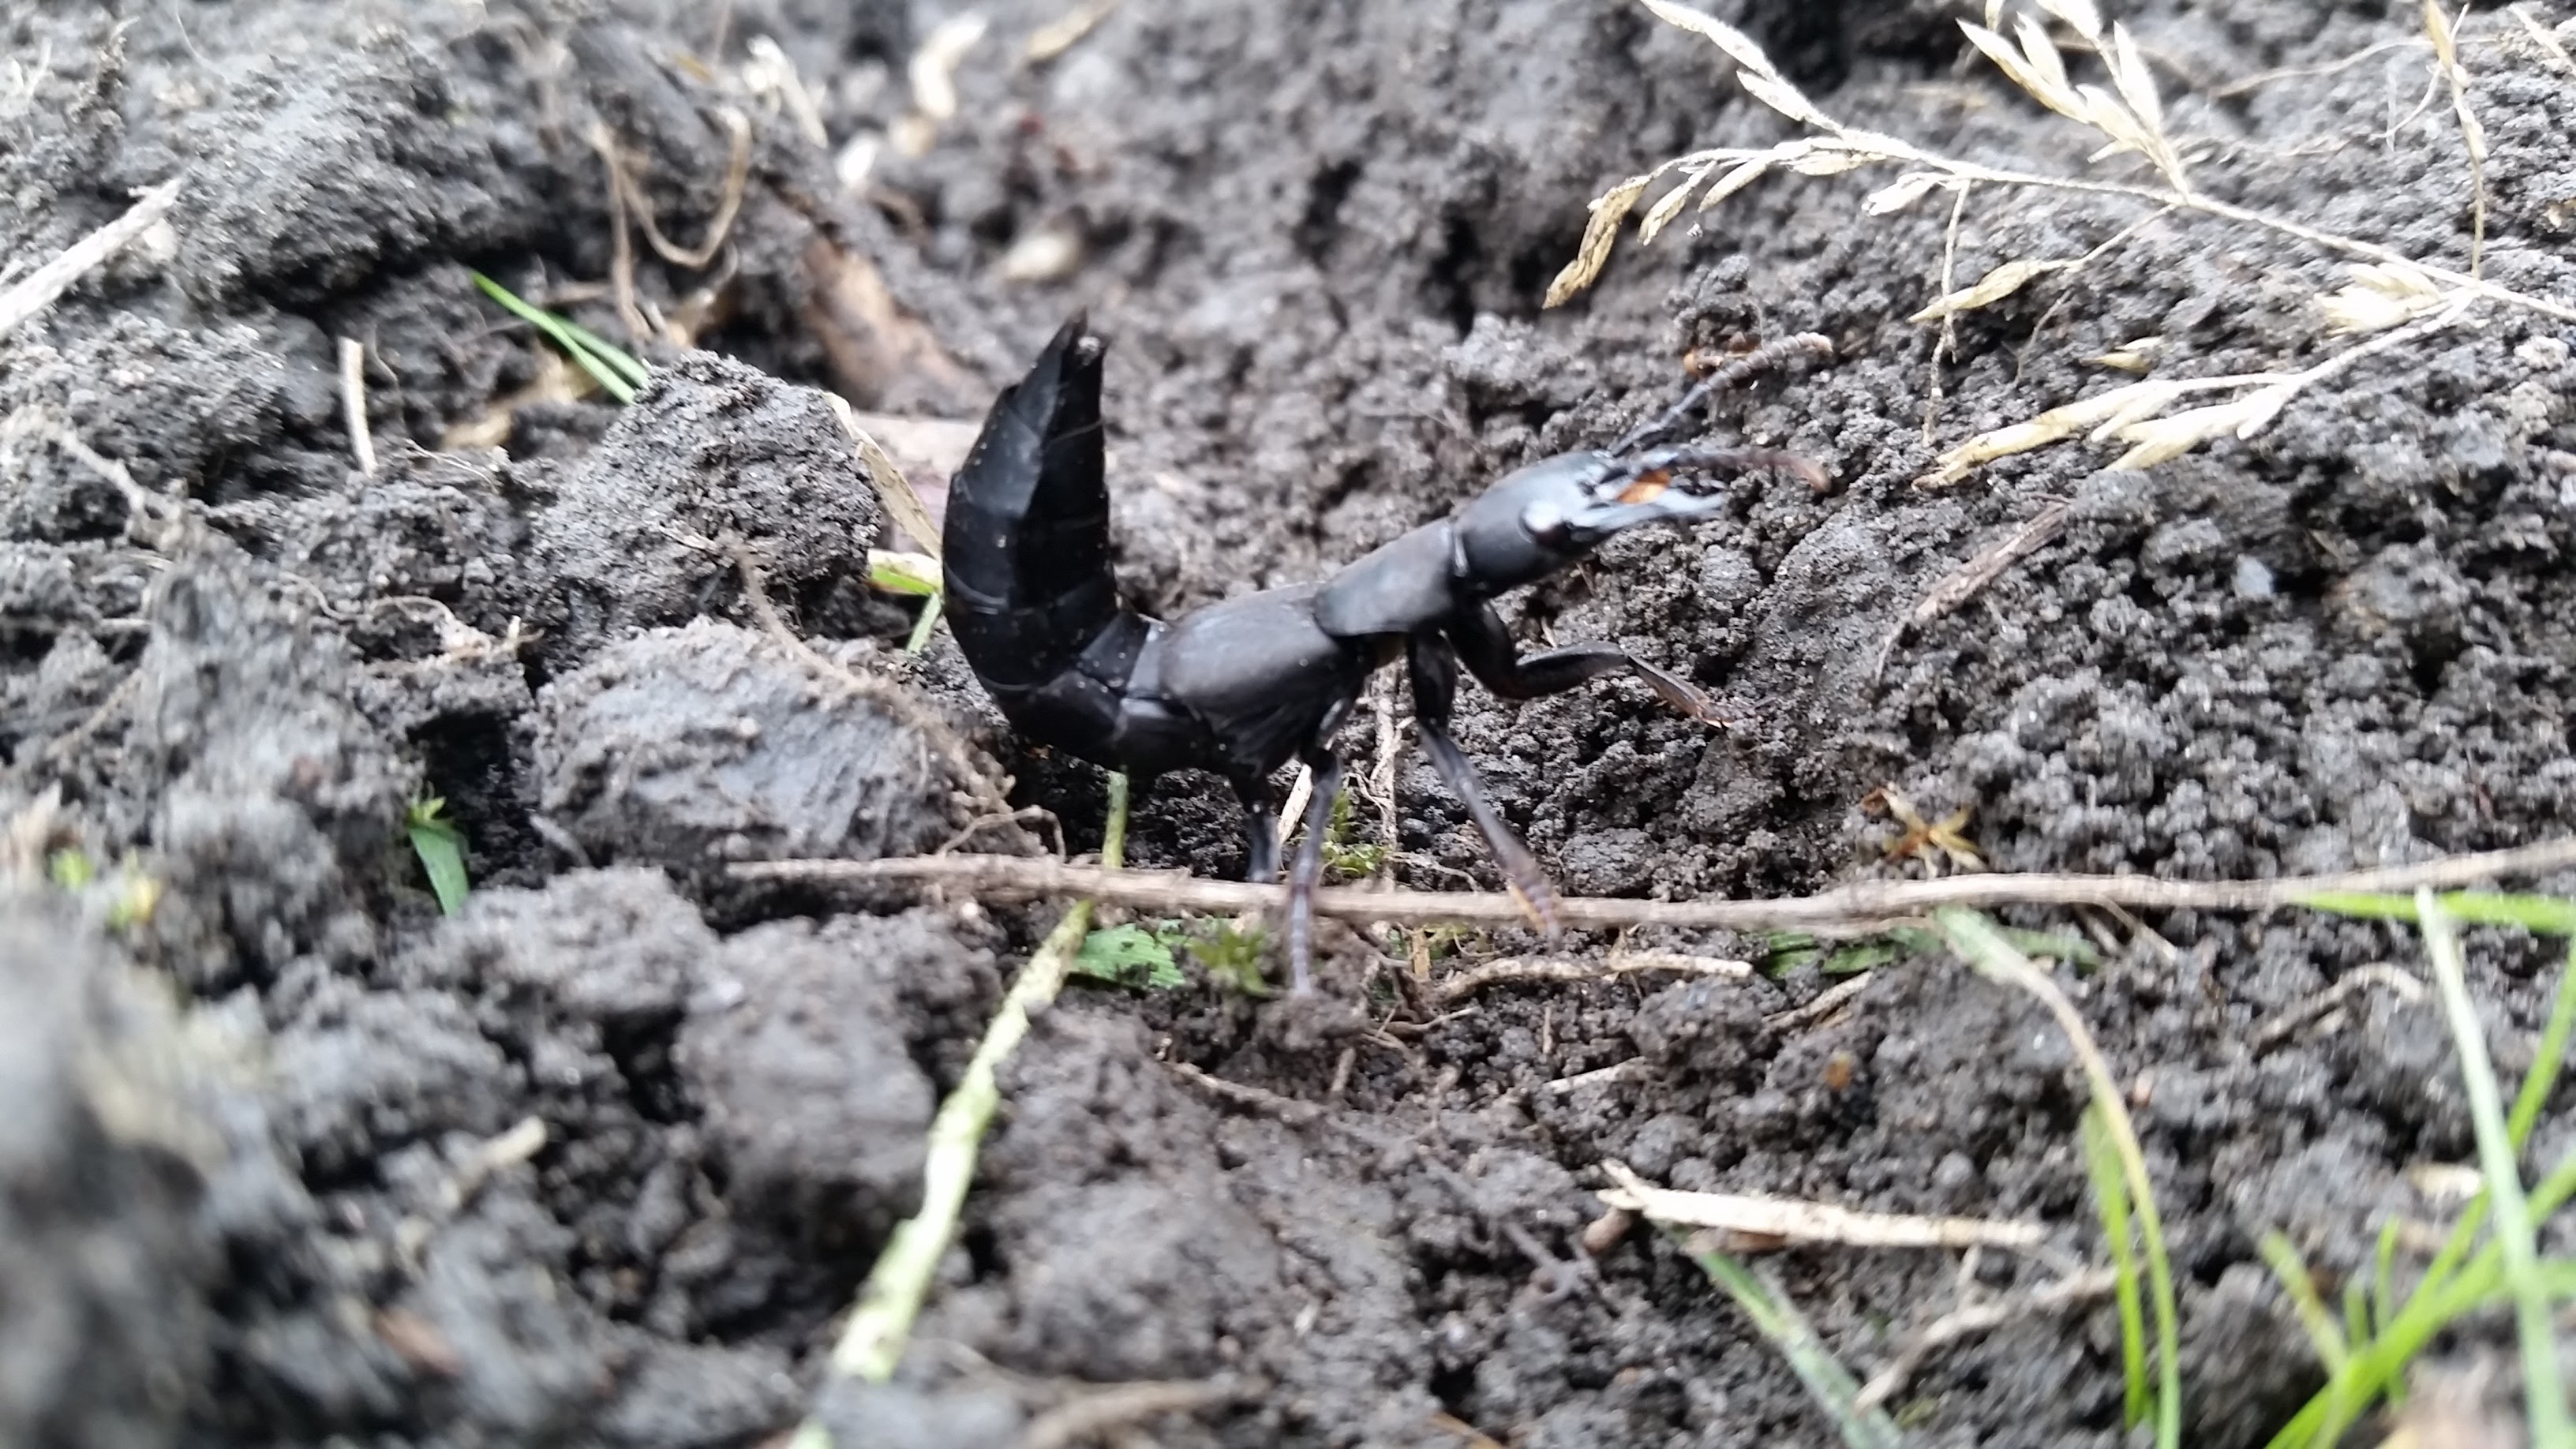
Devils Coach Horse Beetle
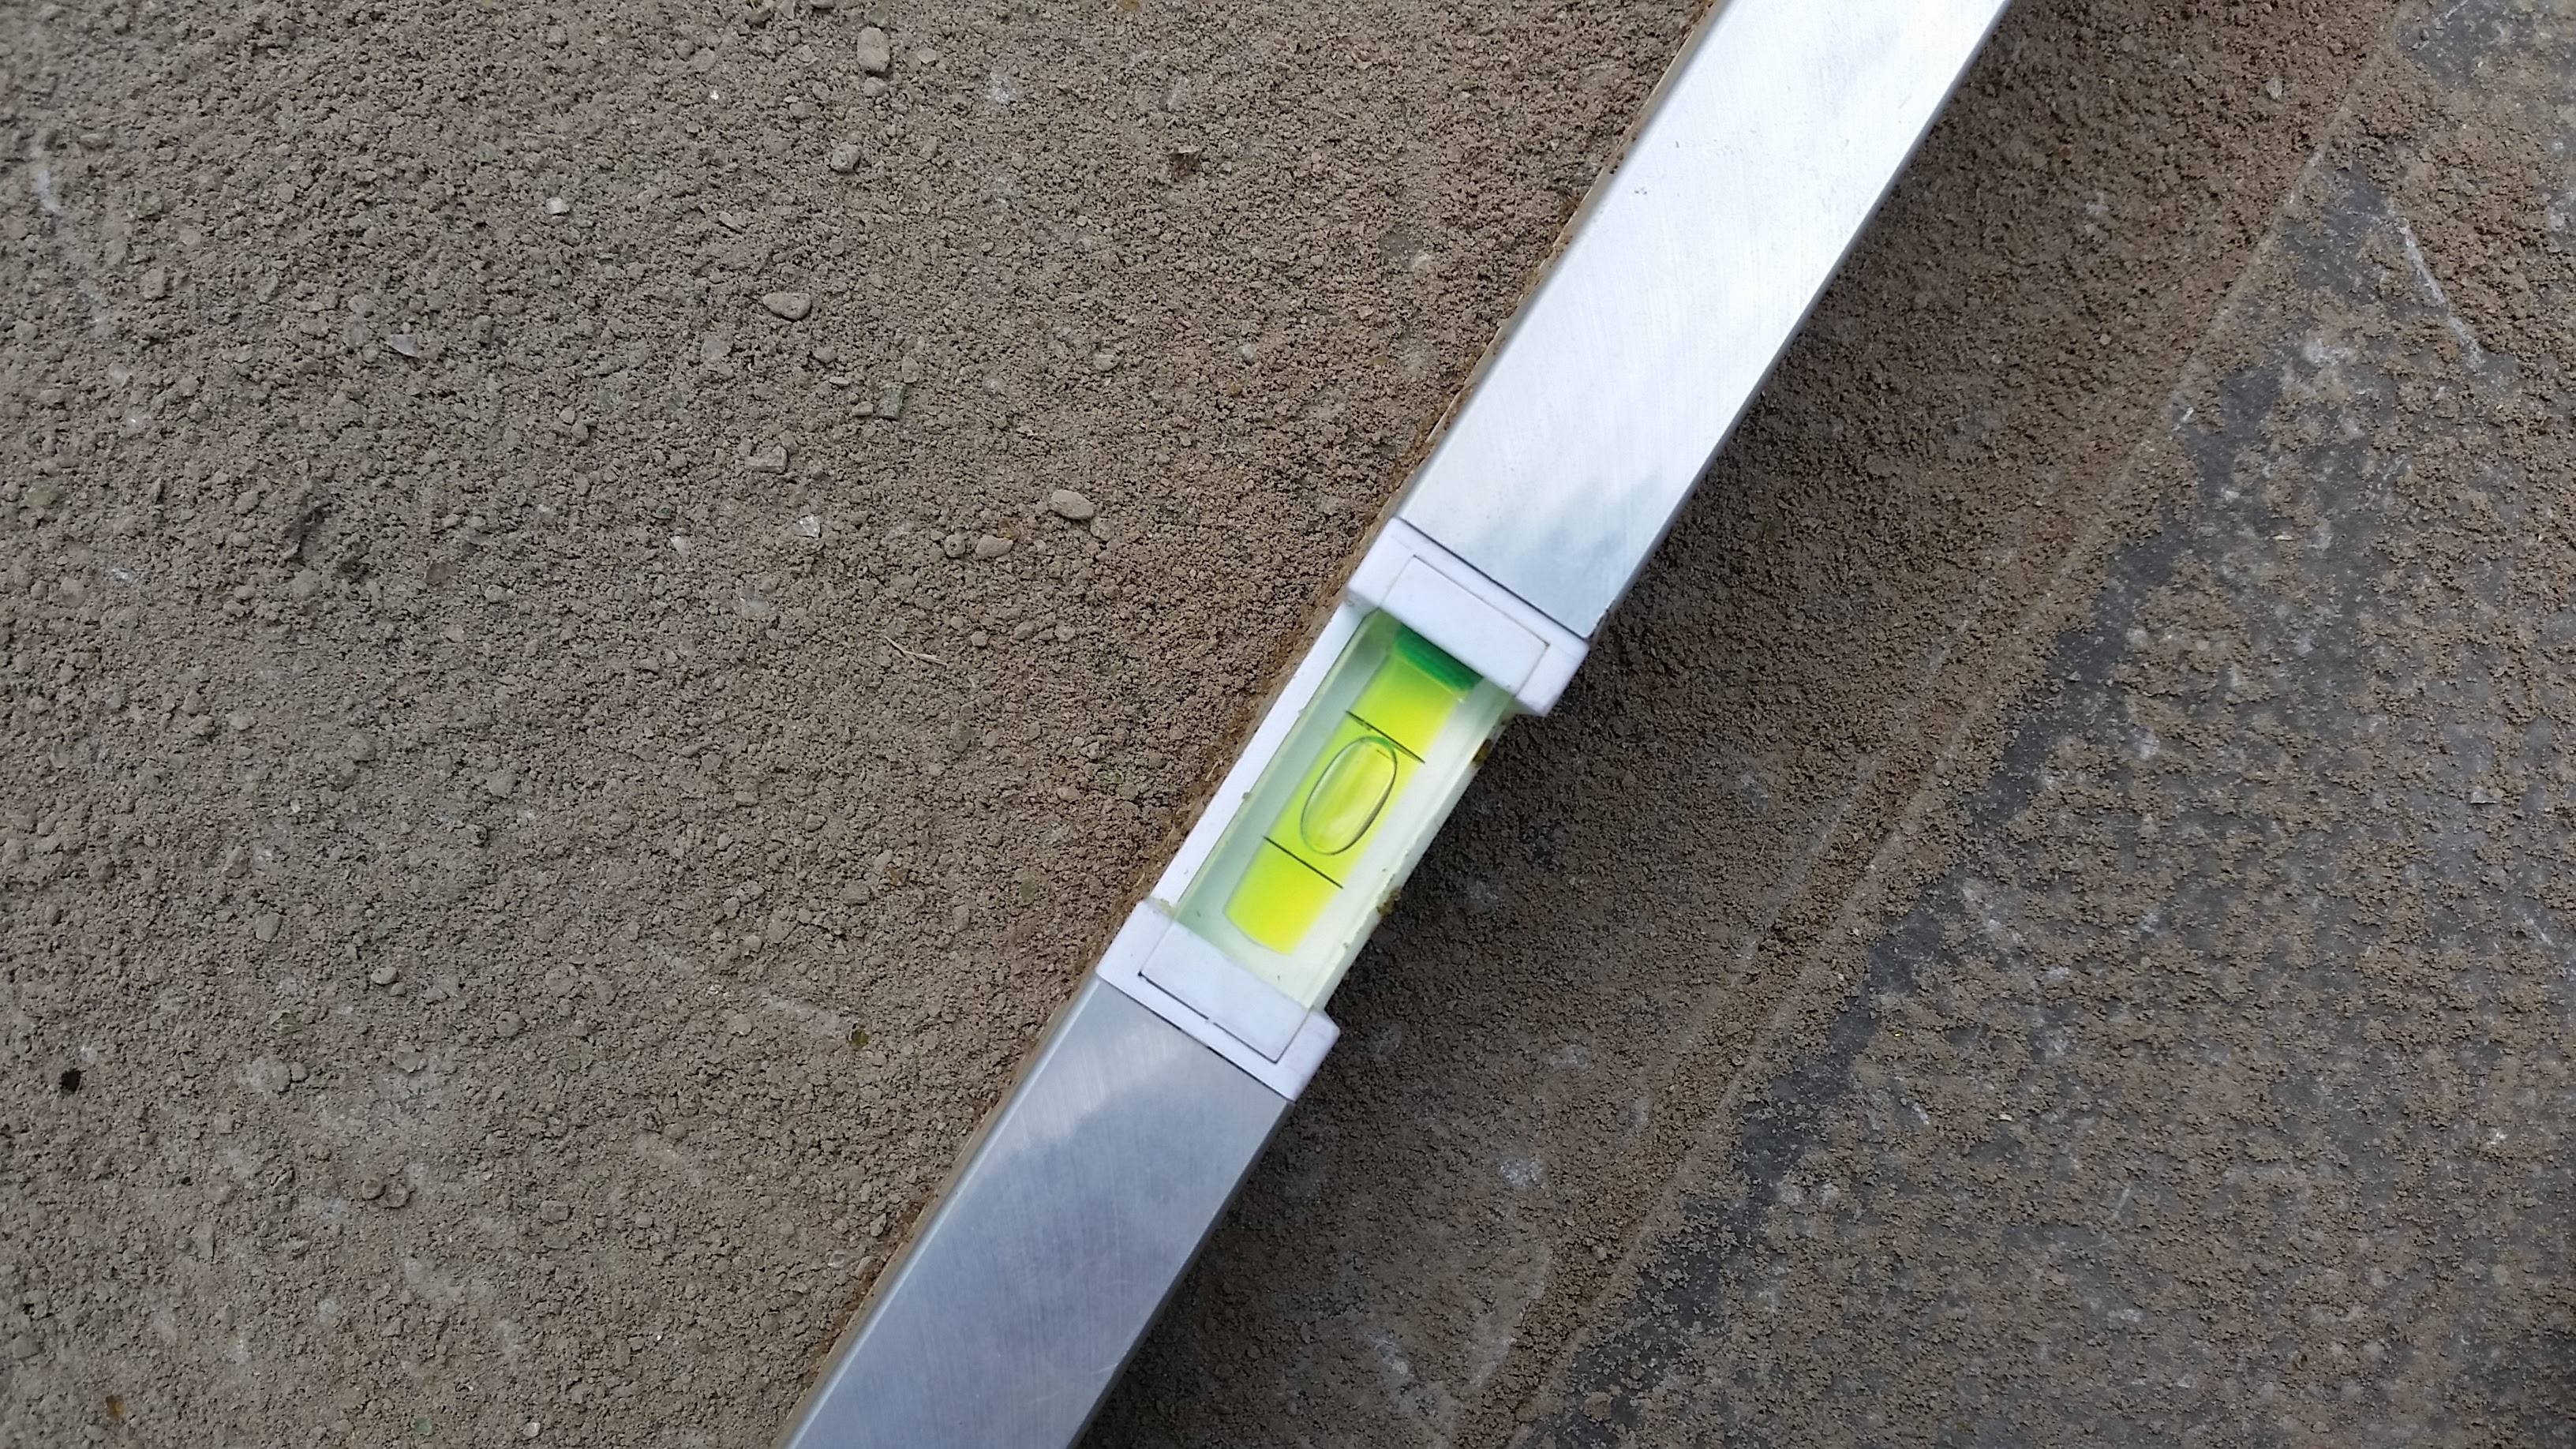
A level laying field
A suitable area was pegged out and cleared of all weeds, the ground was levelled and trodden in to improve firmness. Once the spot was level a mix of sand and crushed recycled glass with an addition of cement to help create a firm grip was spread evenly over the ground. Using a large spirit level the area was levelled ready for the first paving slab. Using the large 600mm x 900mm x 50mm slabs we can be reasonably comfortable that there will be very little movement and disturbance to the slabs once they are laid, due to the fact that they weight 68kg each. In this instance I used 12 and they unfortunately had to be wheeled down to the plot individually in a wheel barrow, over 300m away! – as did all the glass/sand mixture!

Paving Slabs 600 x 900

Handy little helper, taking a break!
Once all the slab were laid then I filled the gaps with a fine sand and cement mixture. I then sprayed the surface lightly to help all the cement begin the setting process.
Just awaiting the shed.